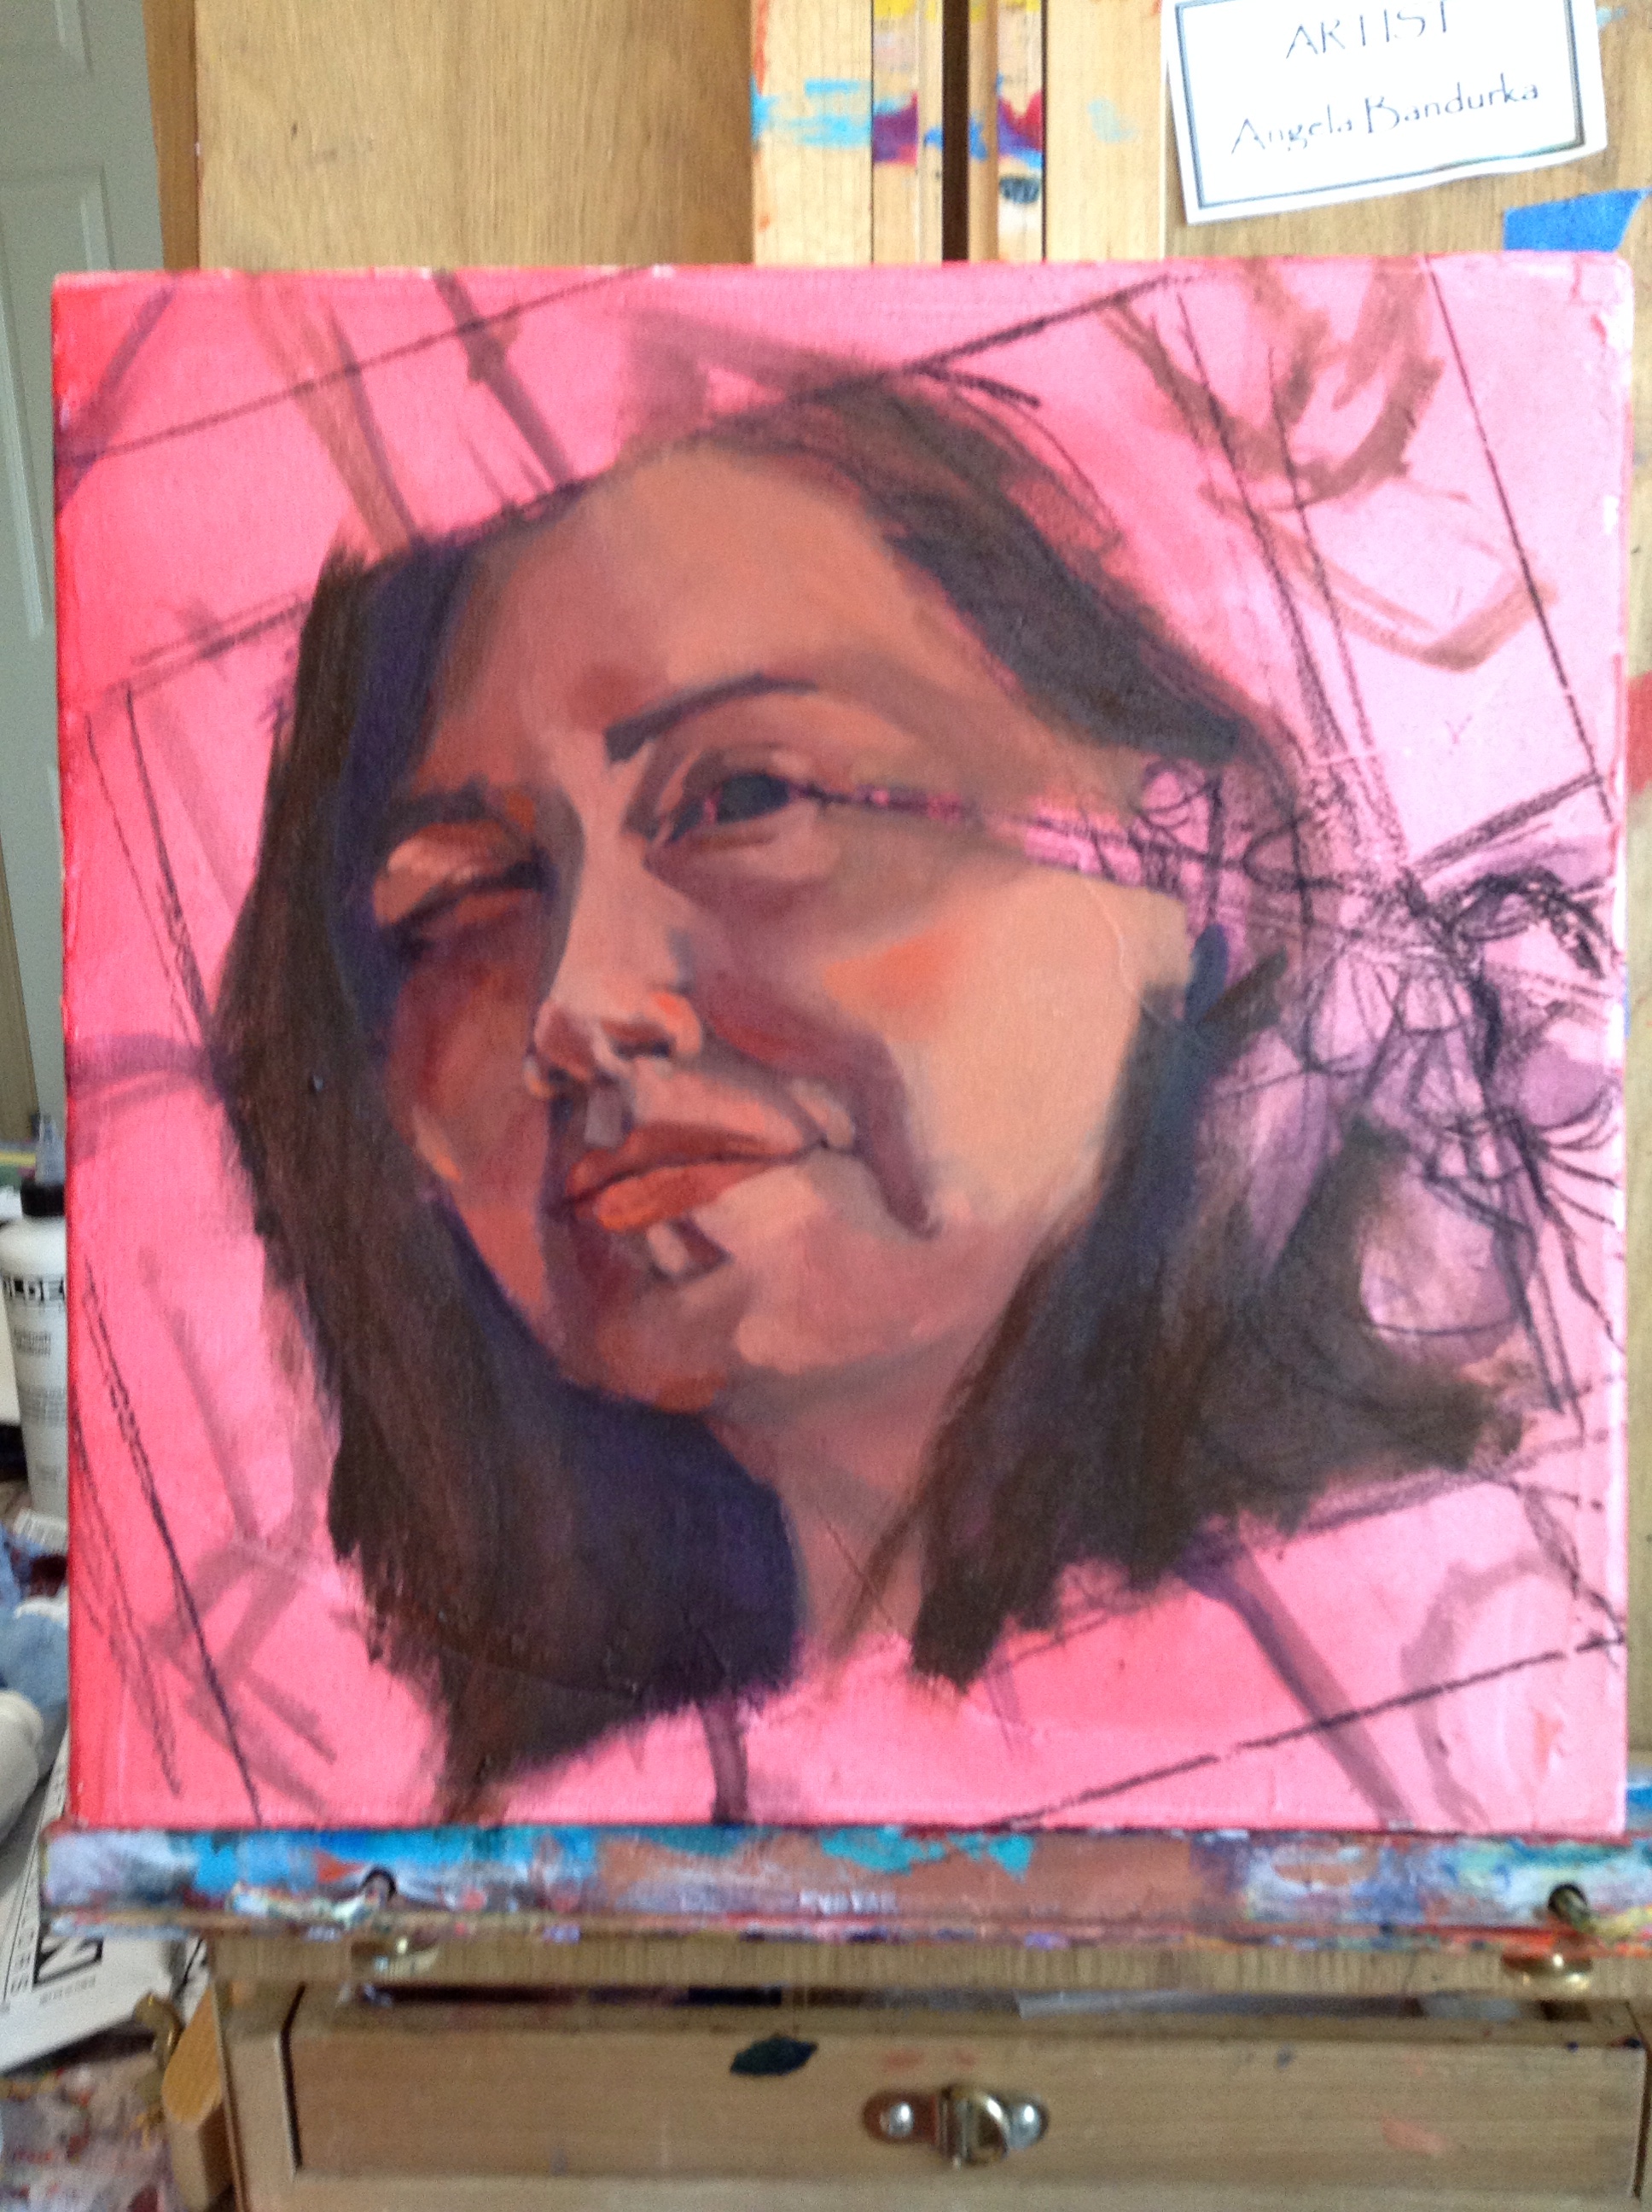
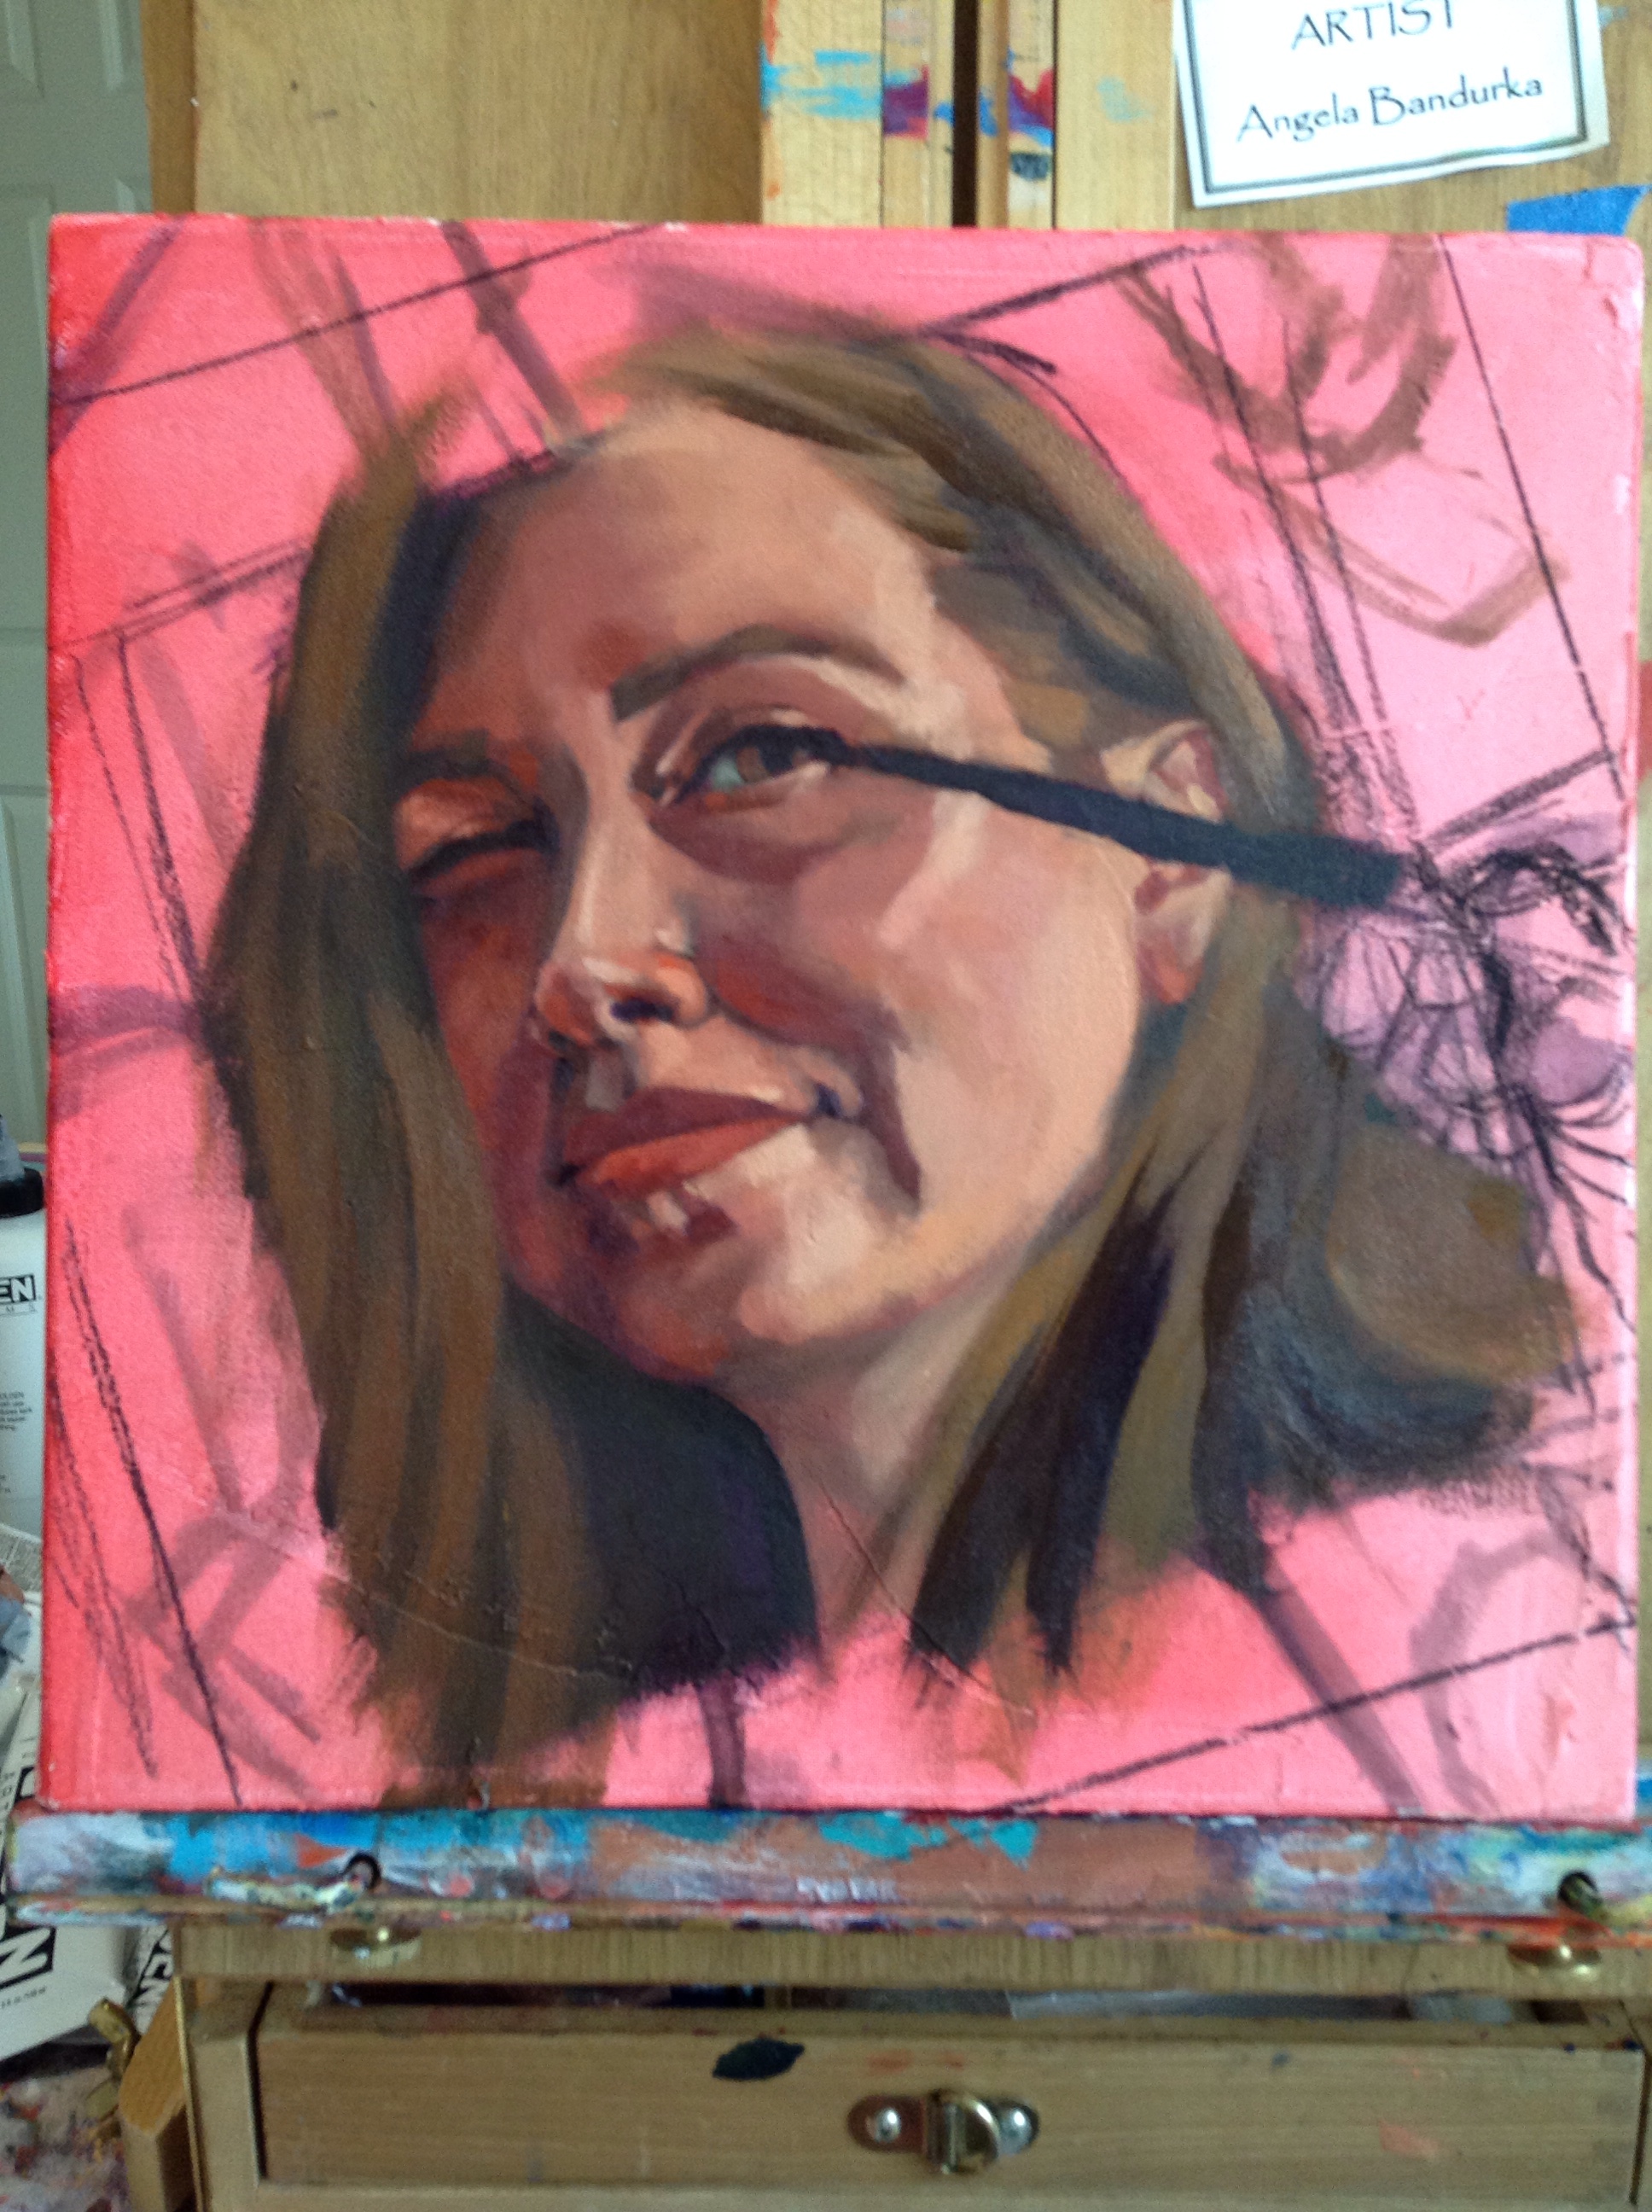
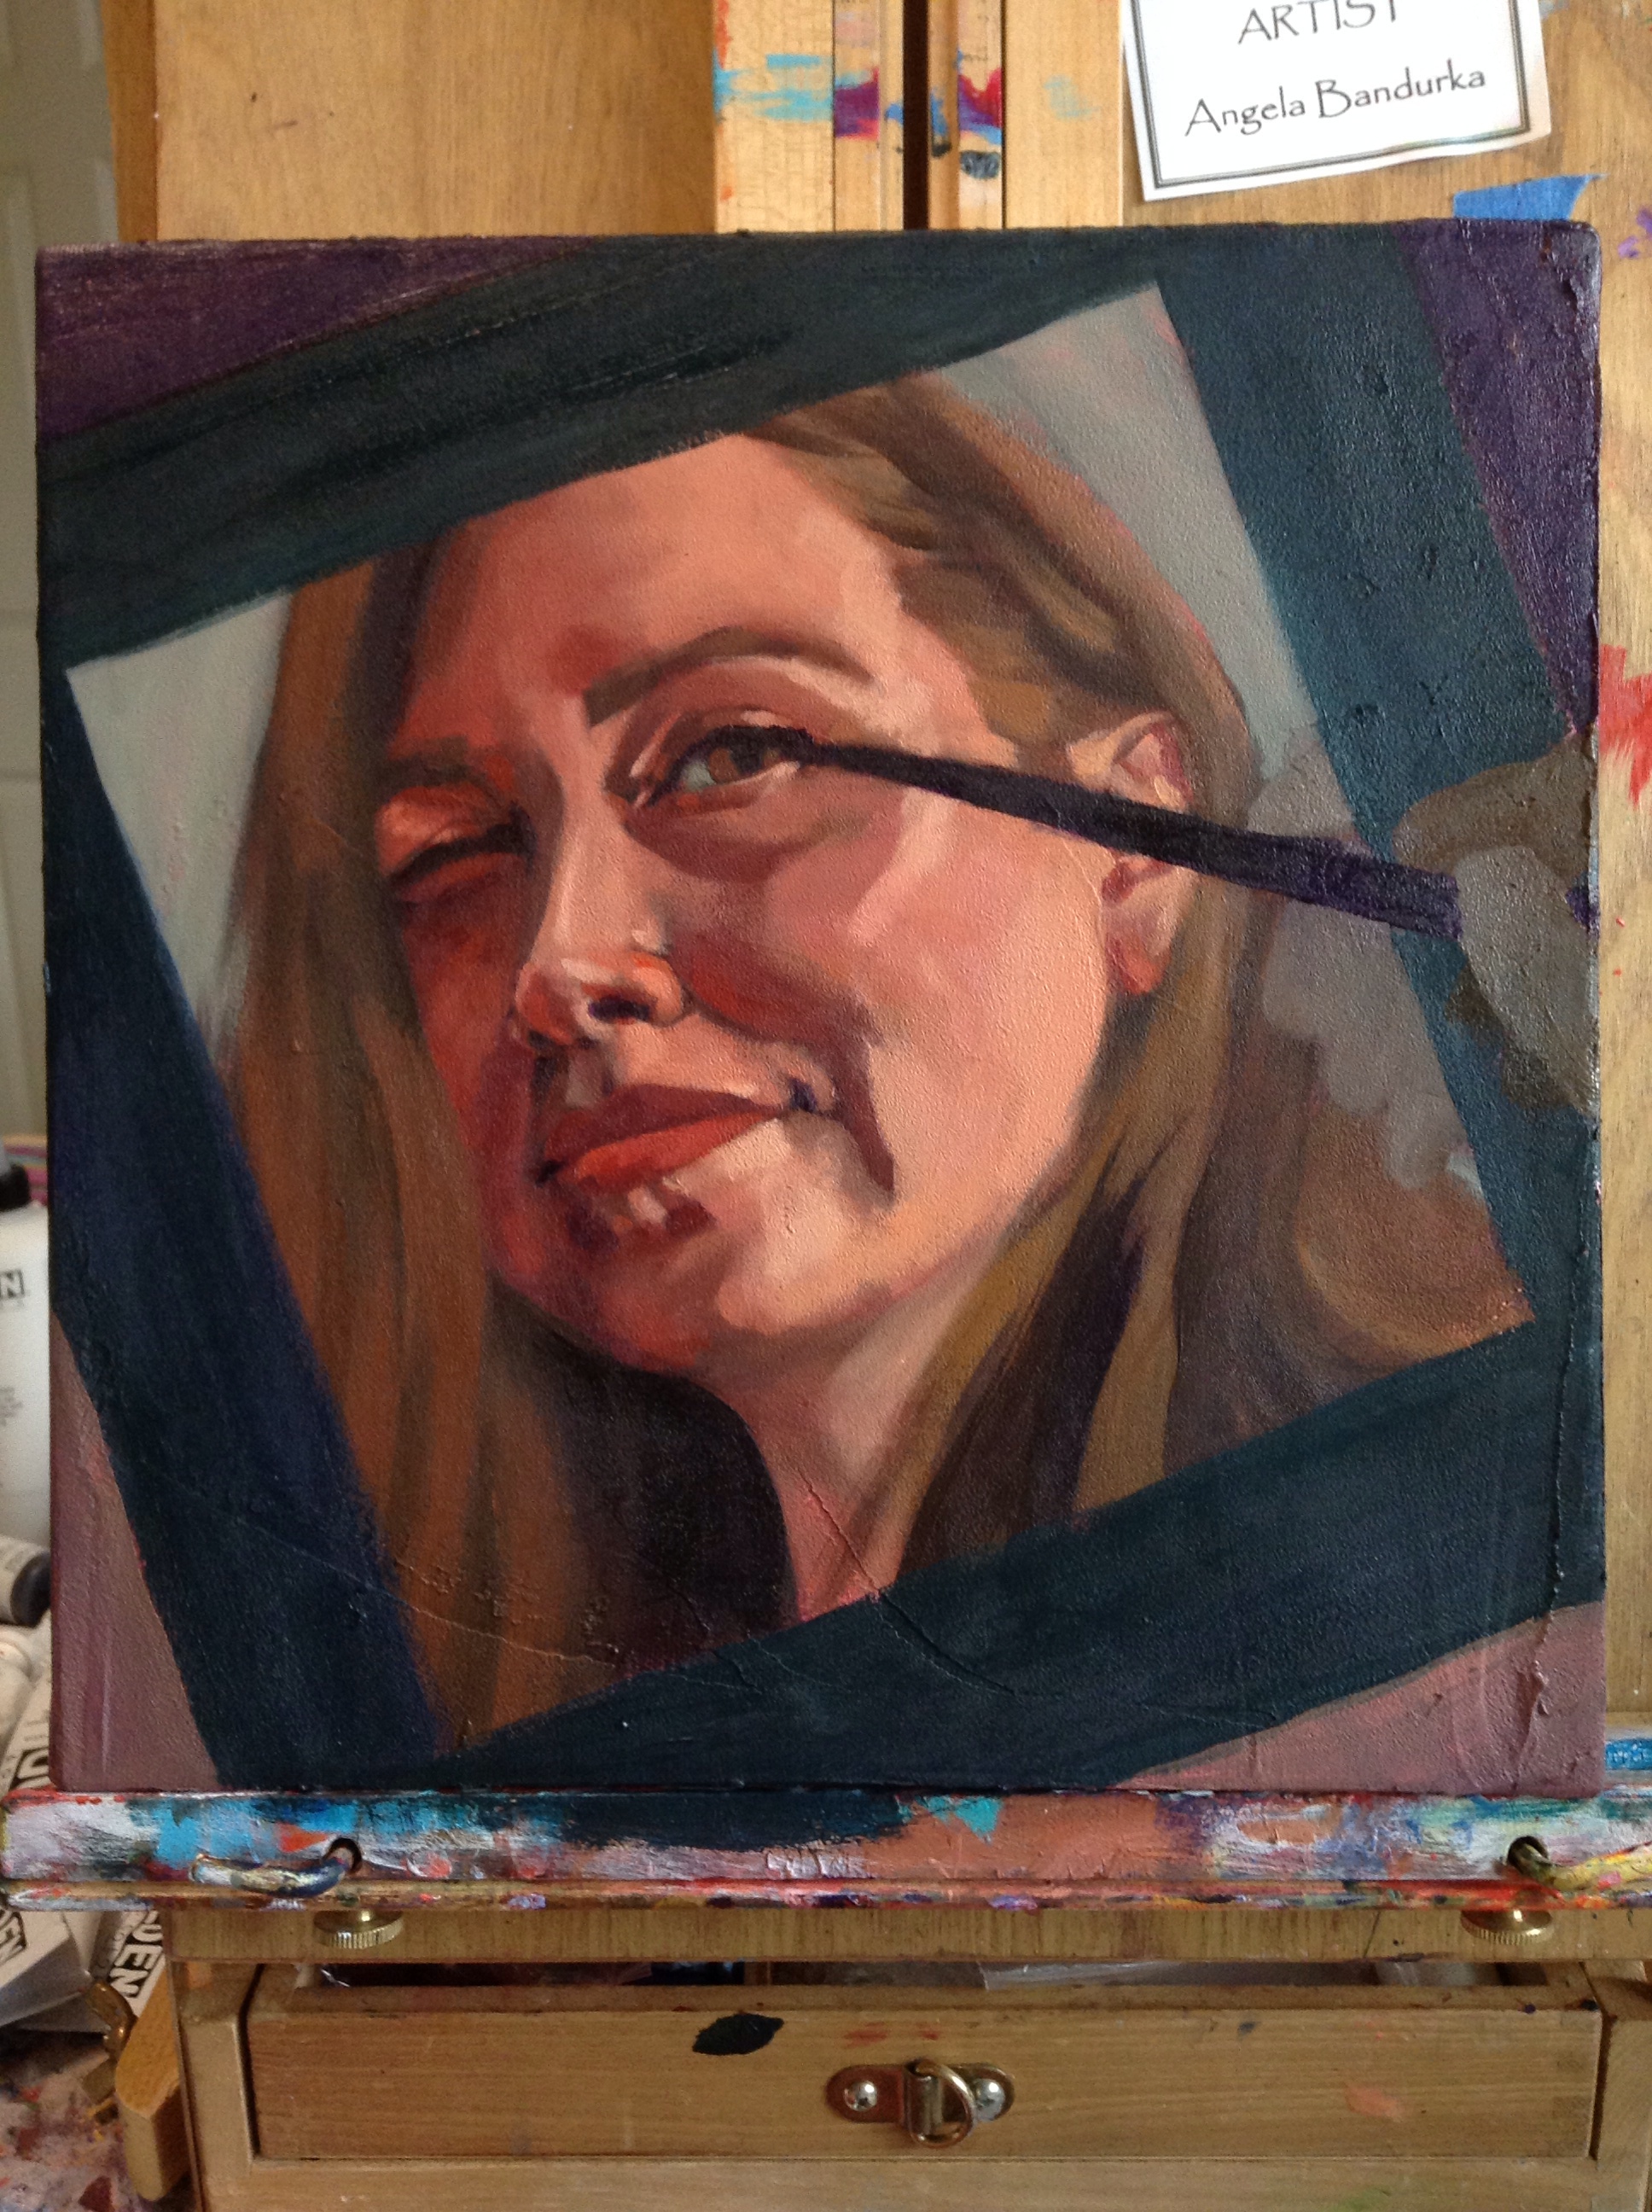
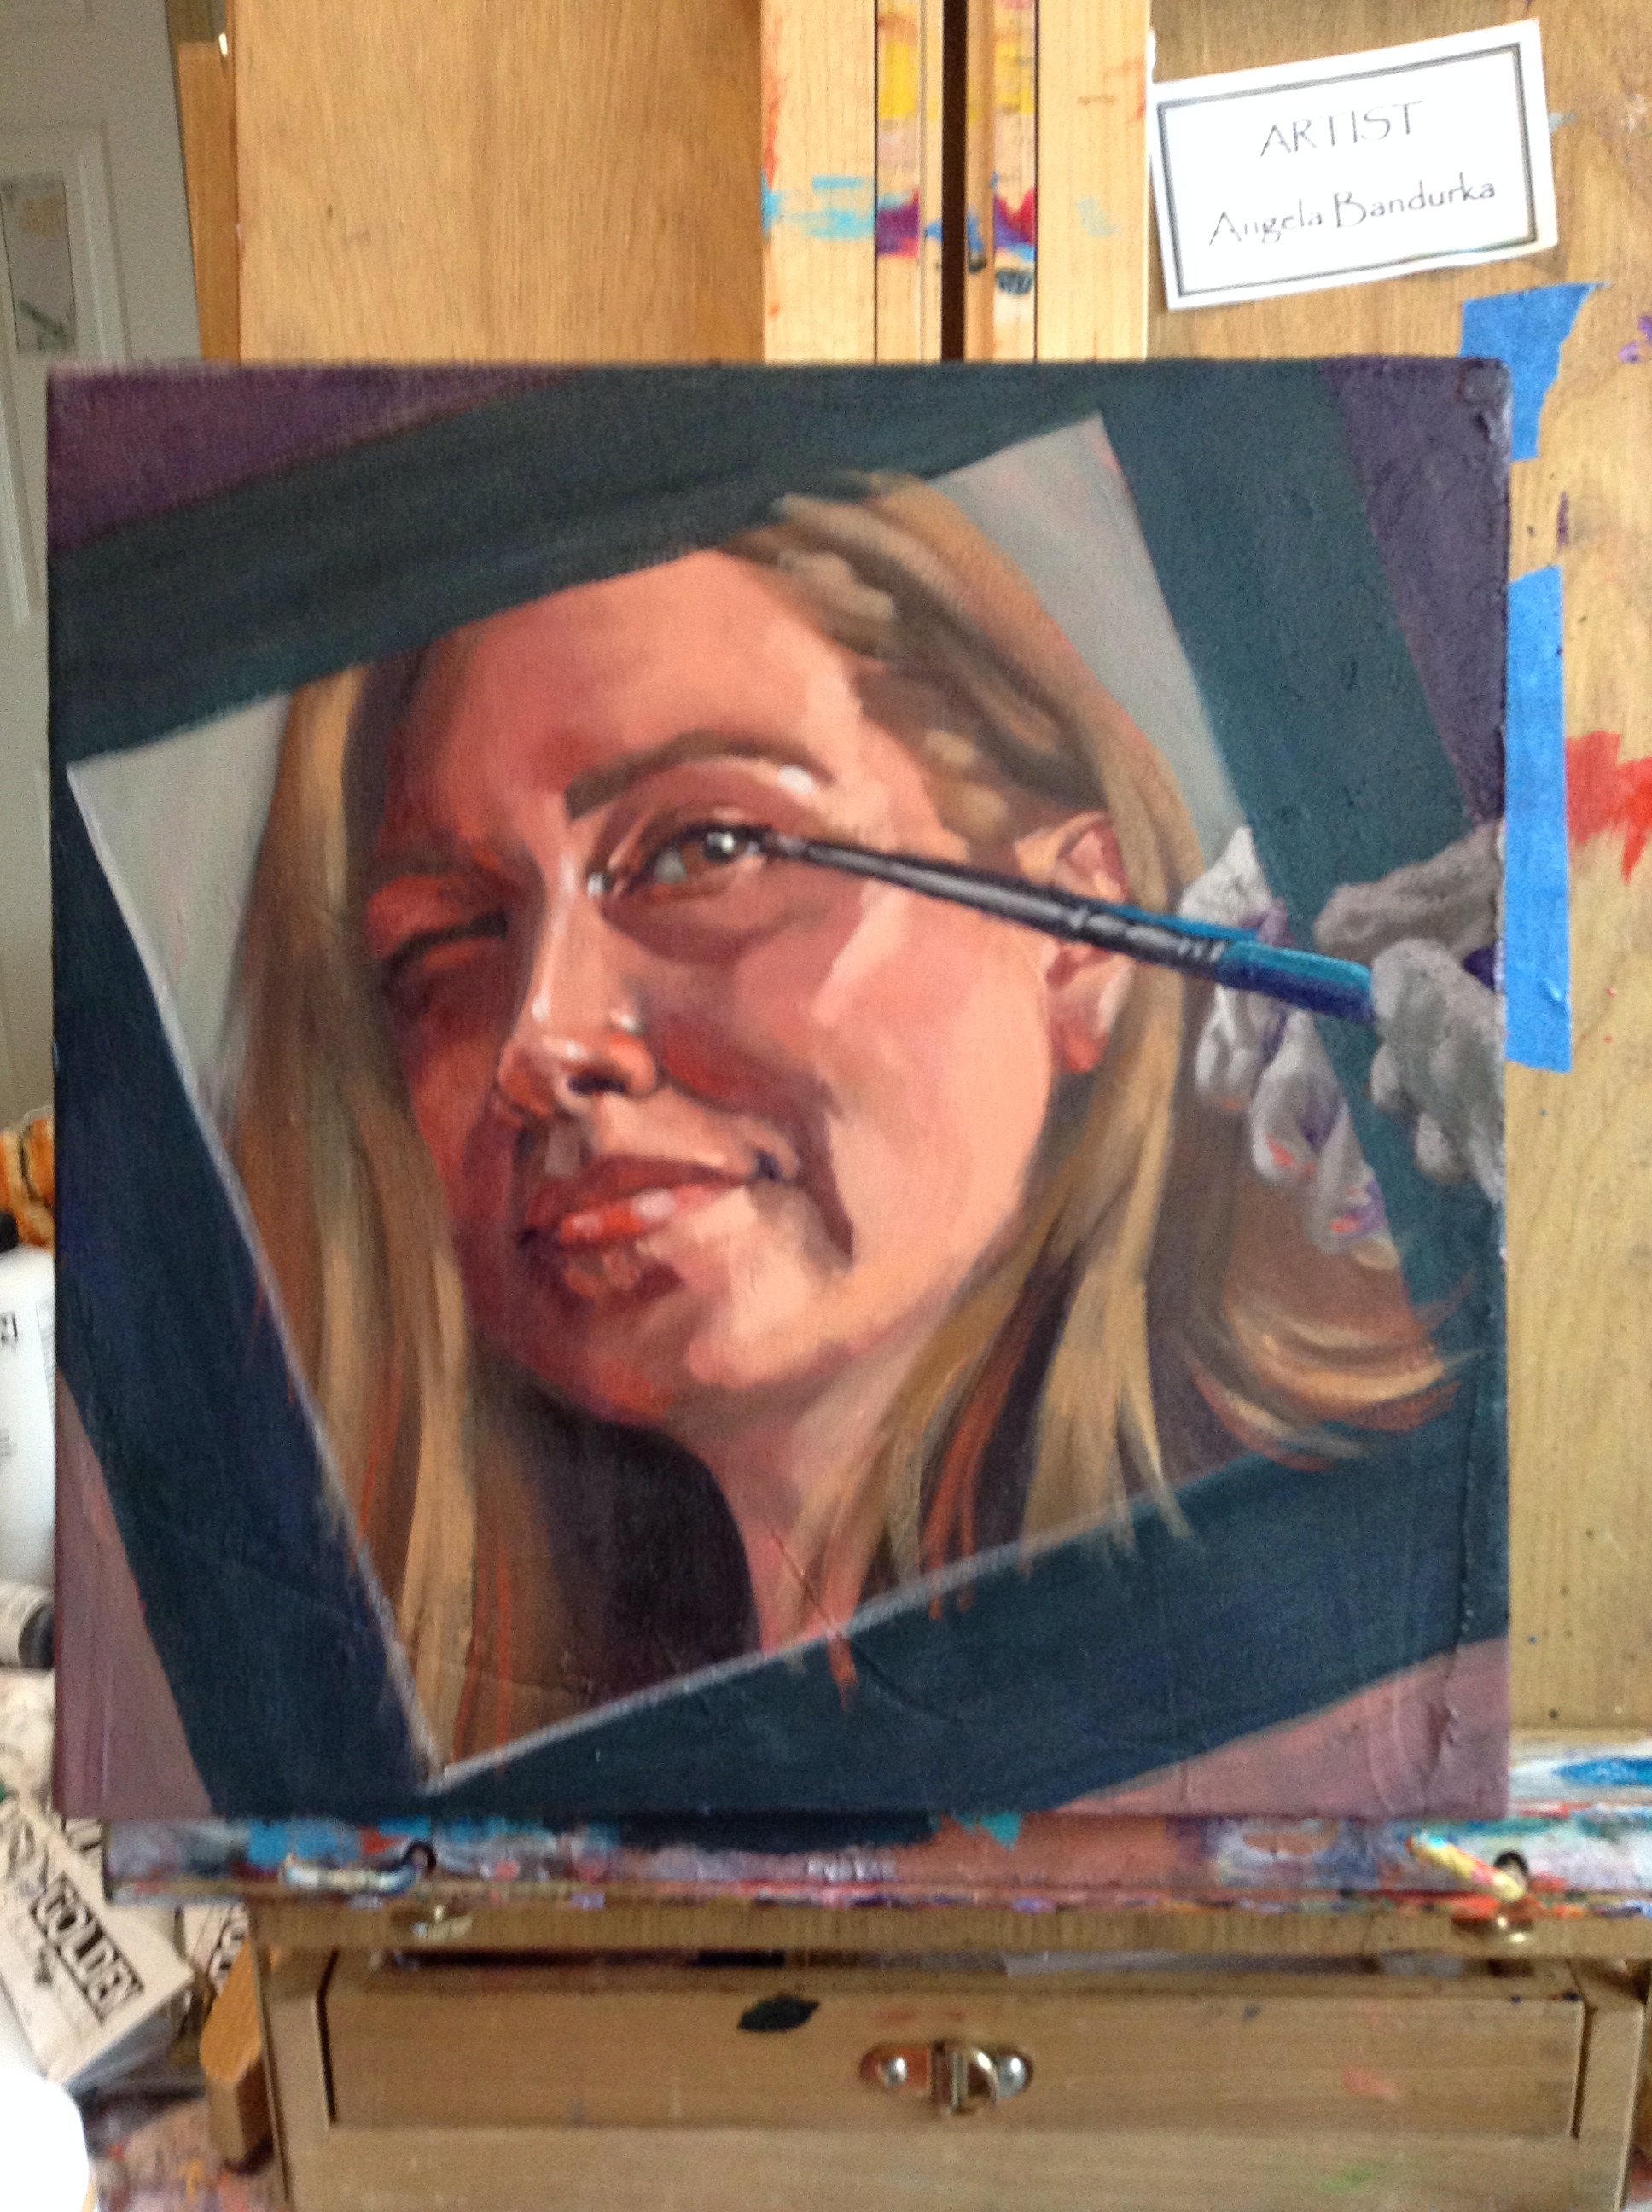
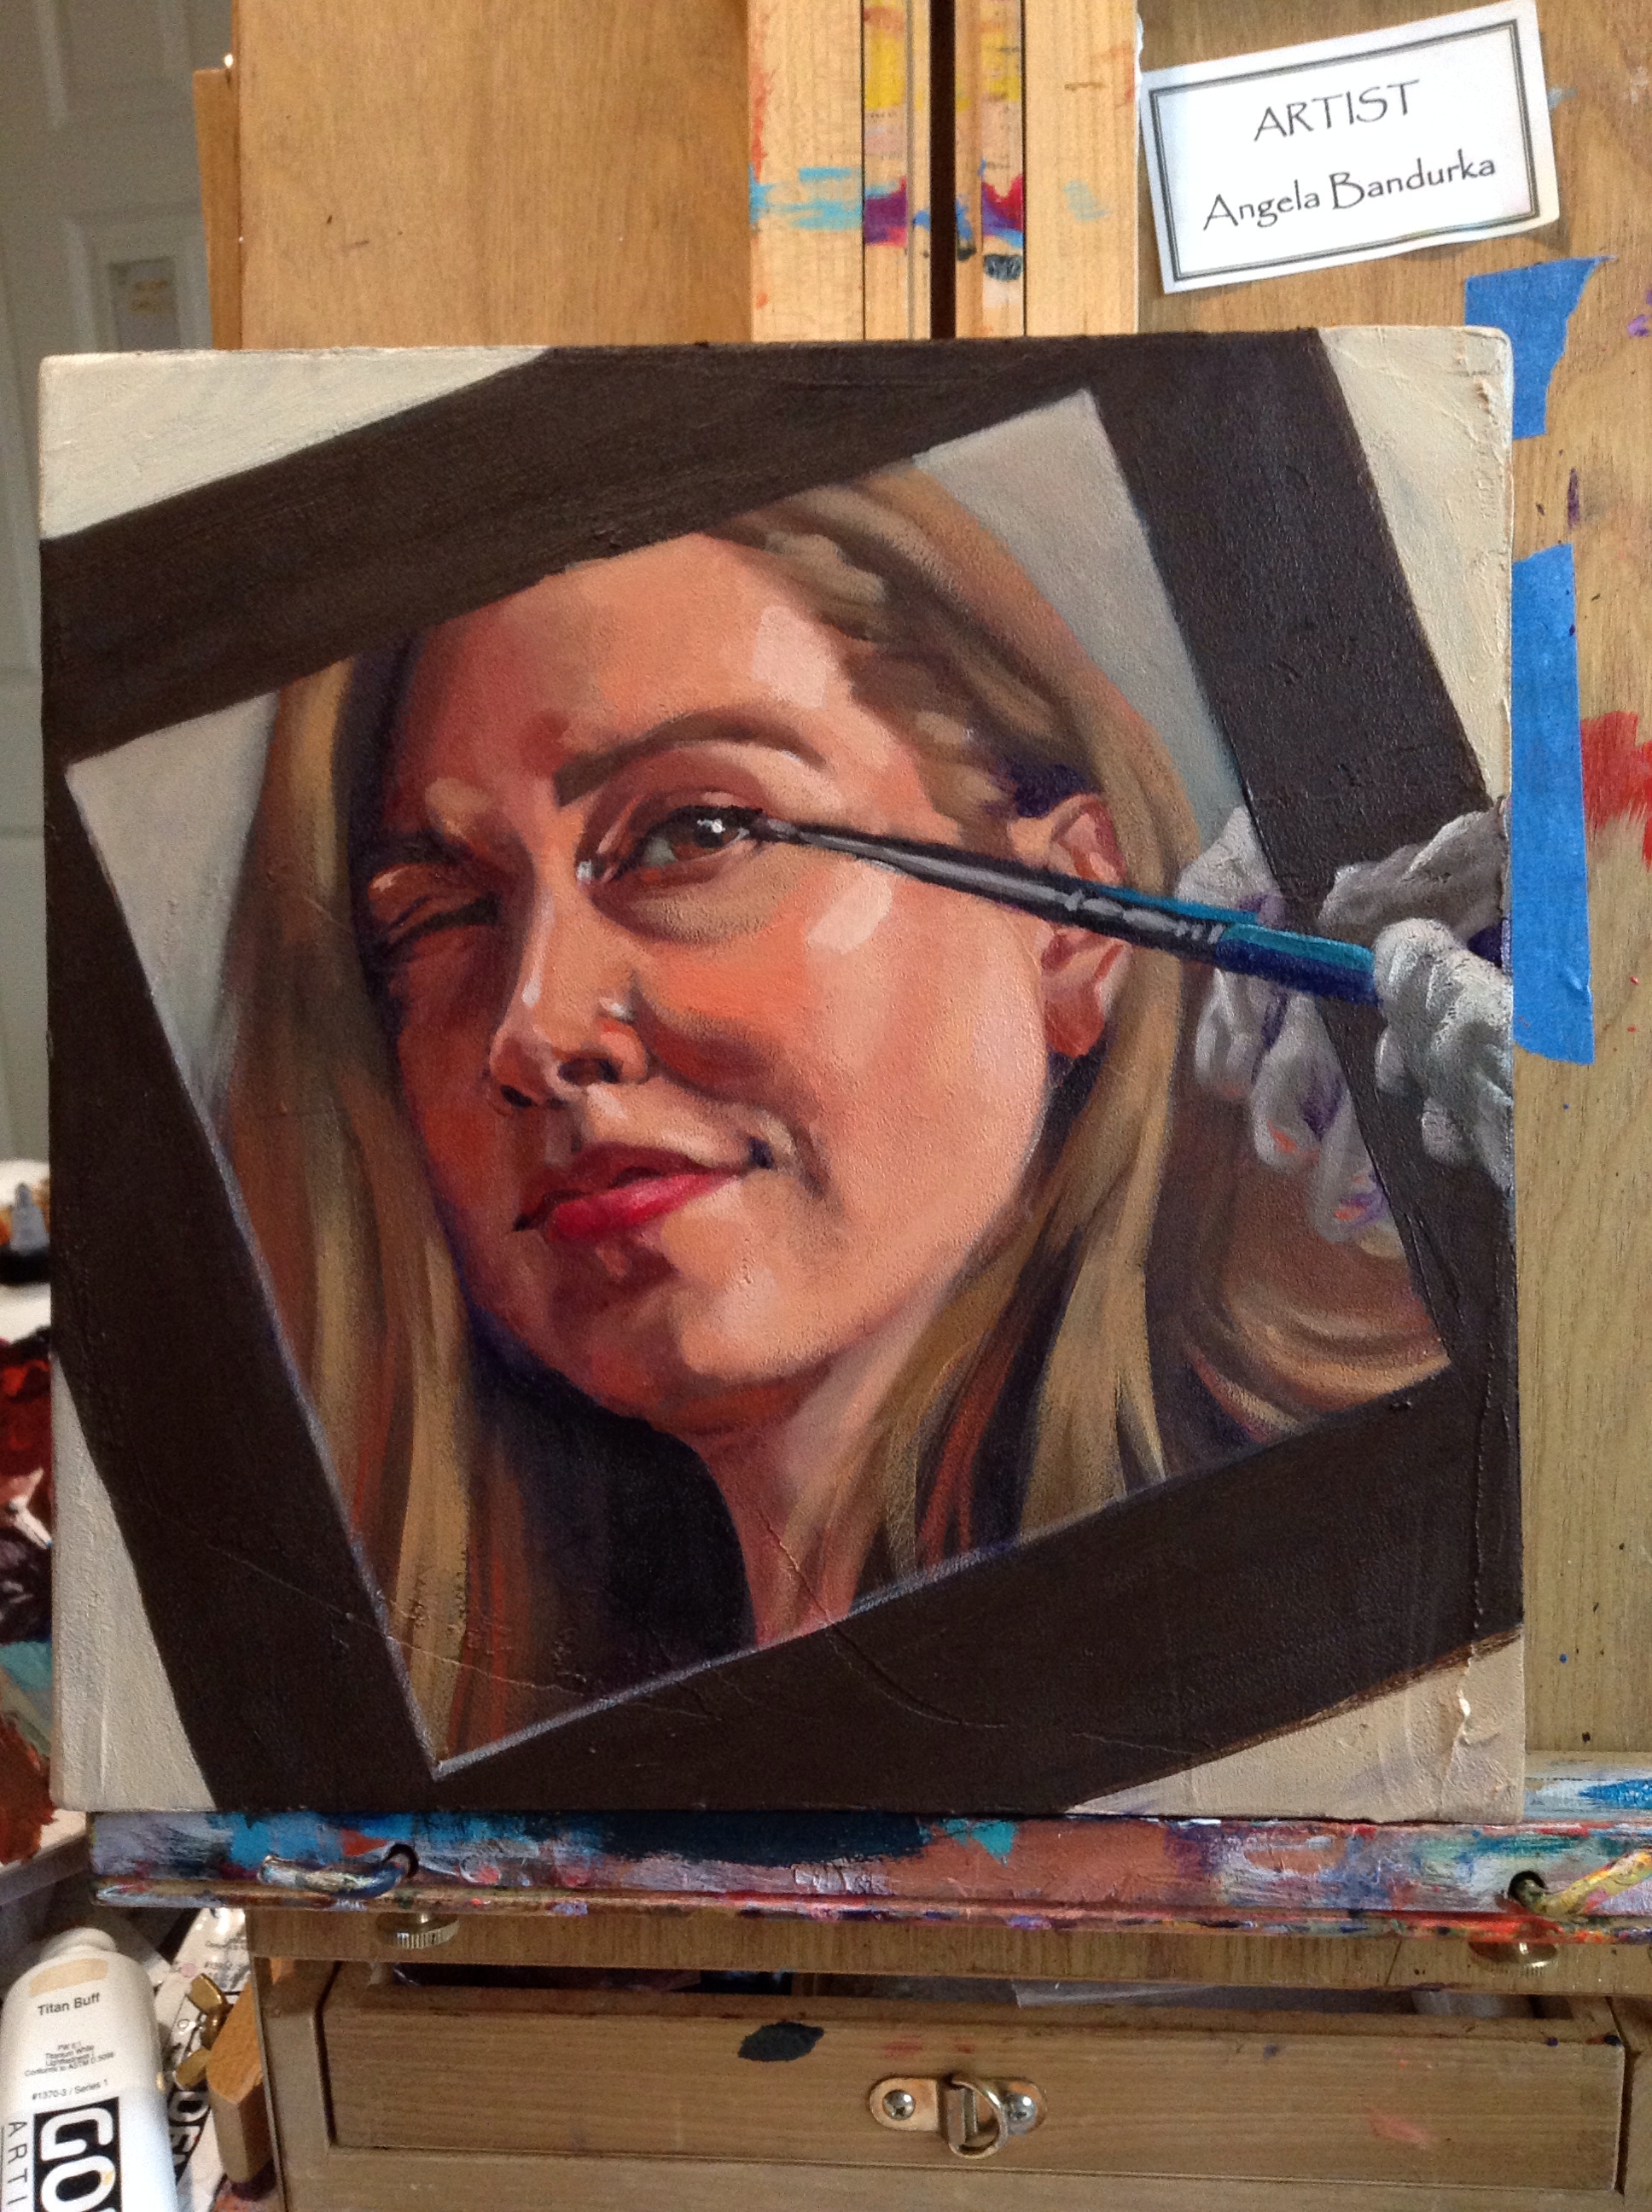
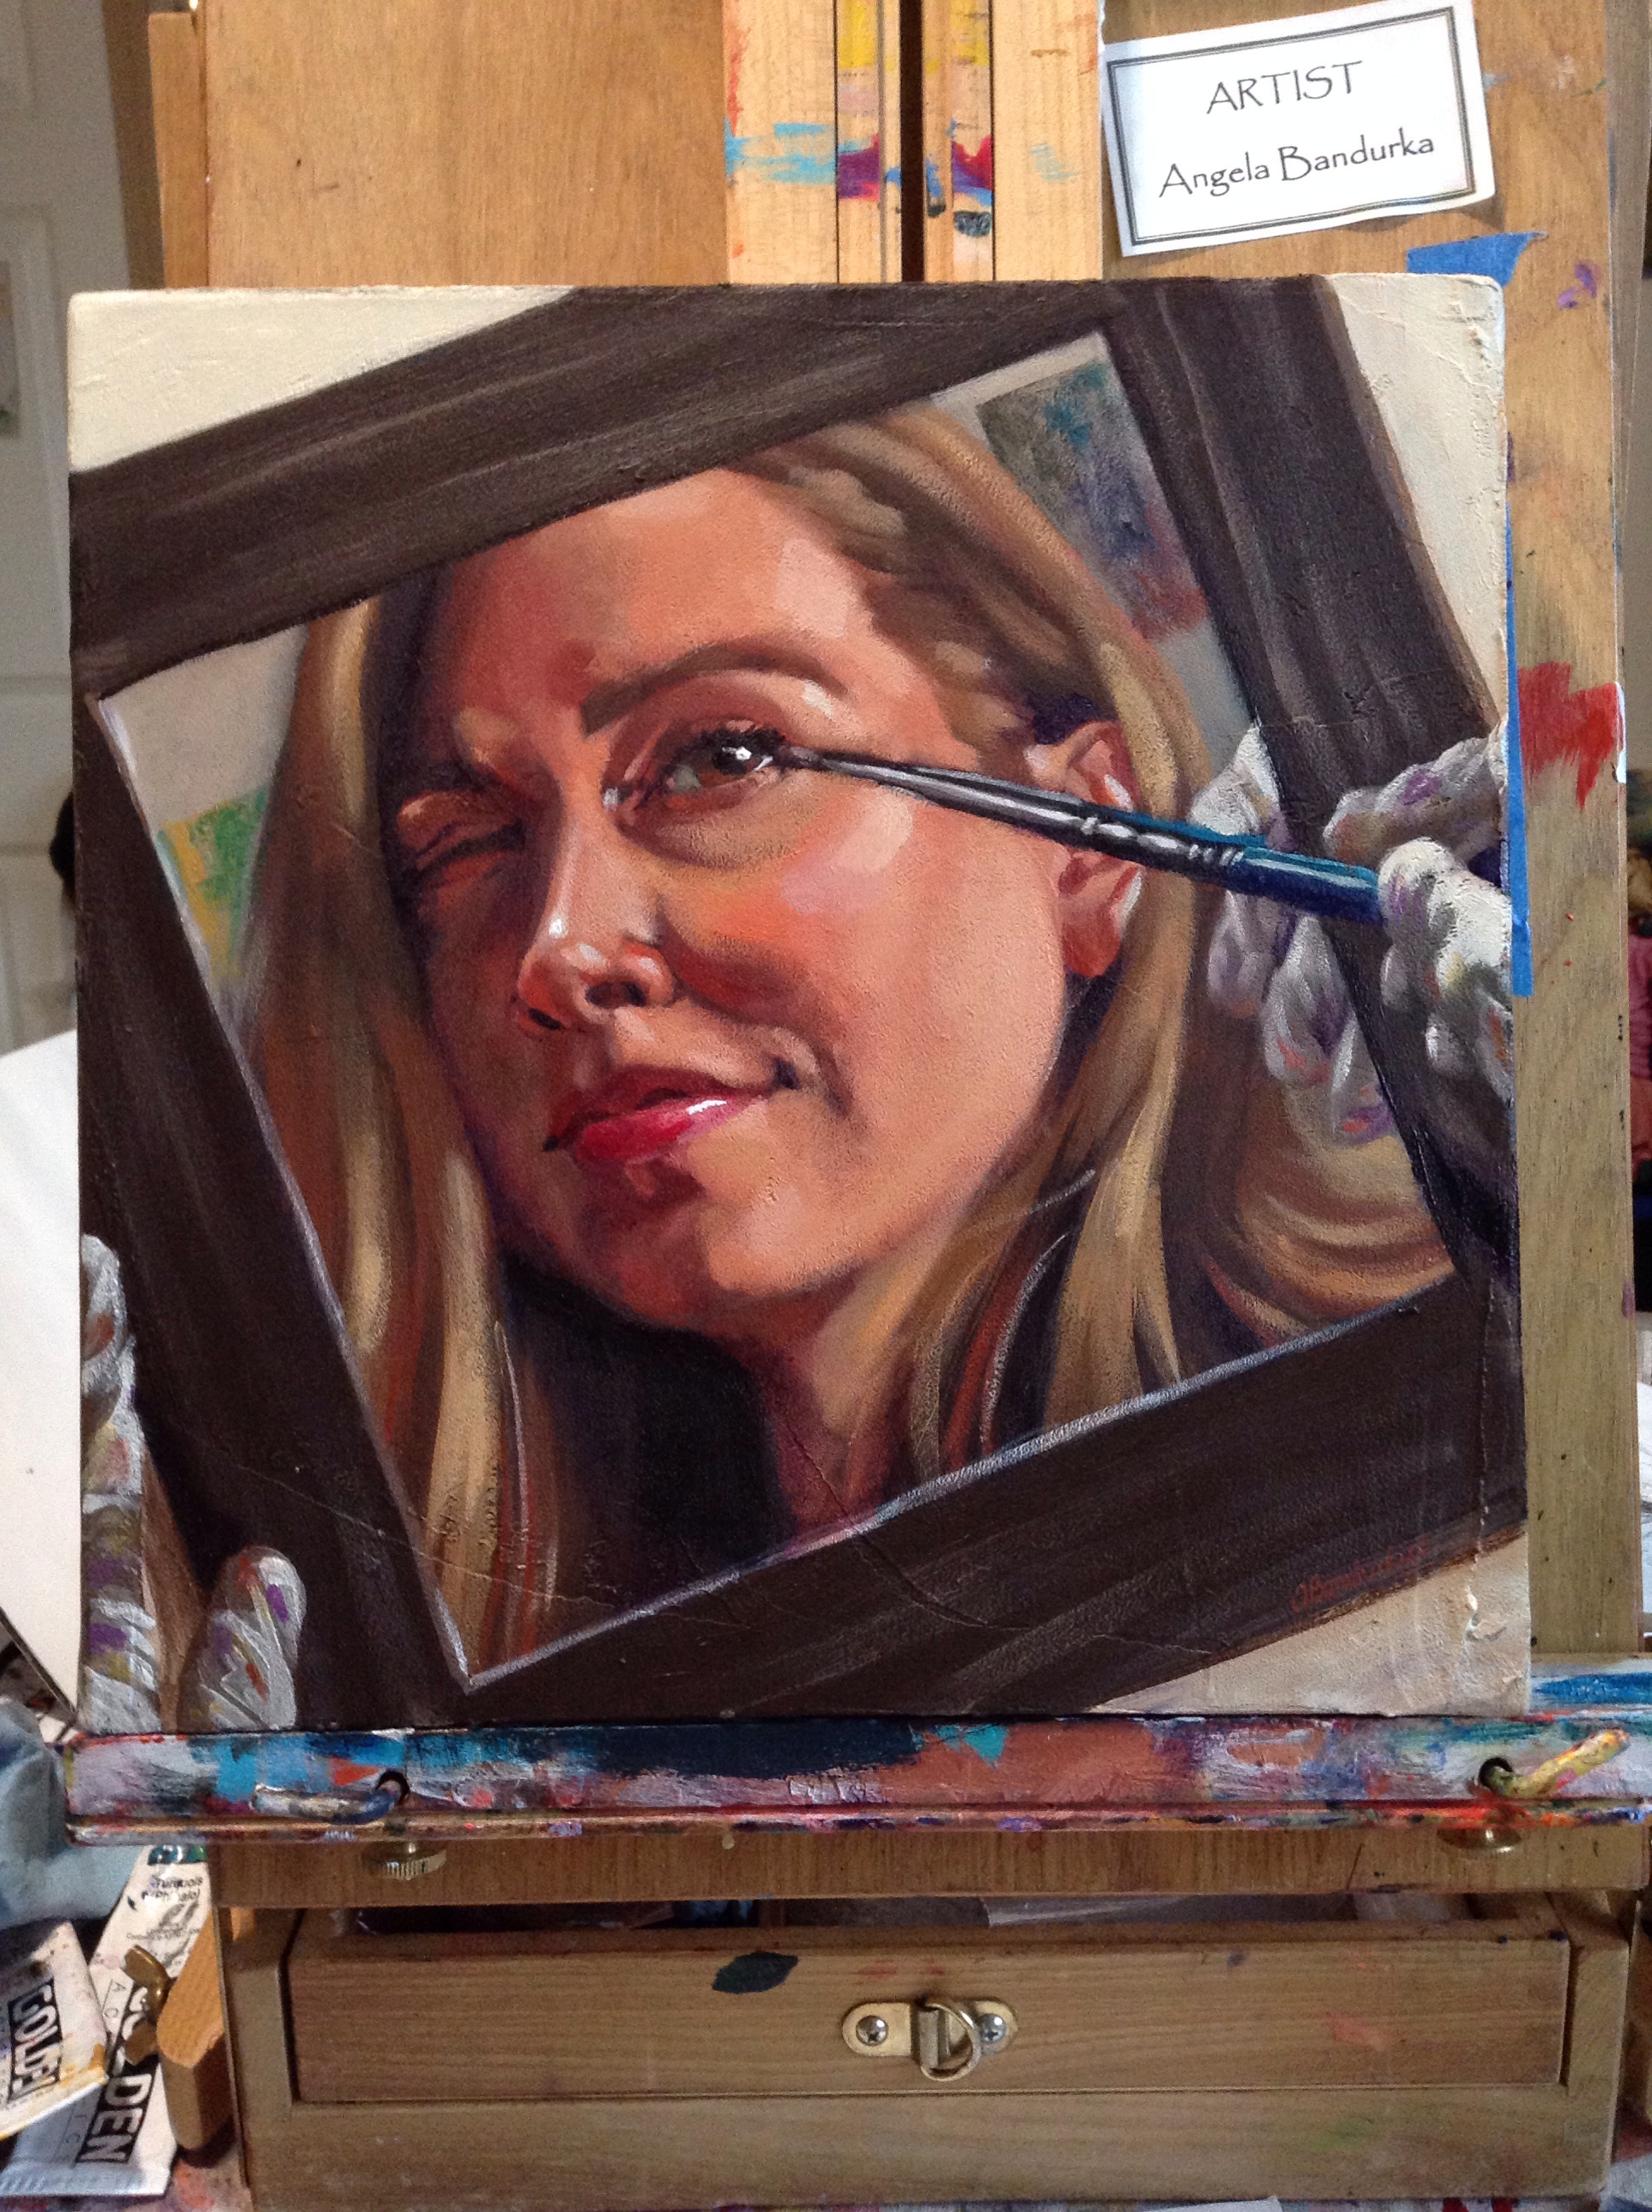
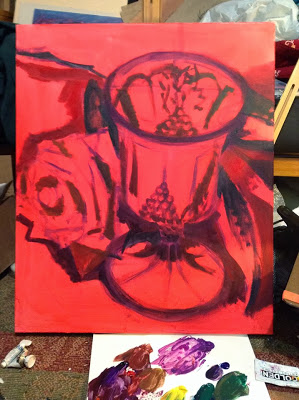
While giving a private lesson to an amazingly multi-talented couple who have taken private lessons with, I discovered a neat little trick that helped me solve a problem I've encountered in the past.
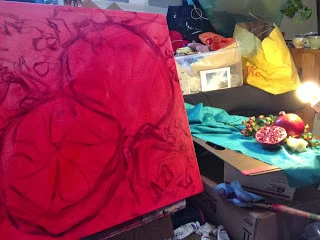
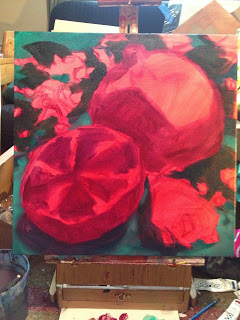
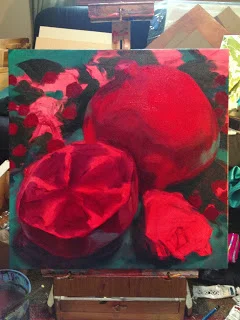
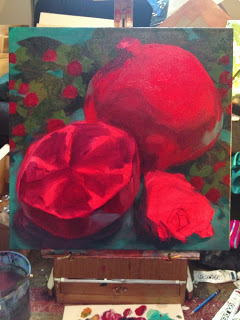
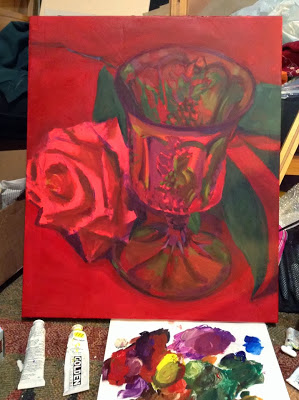
See, I have a confession to make: painting velvety objects that are bright crimson/magenta freak me out. Not because I don't like their colour and texture - I do - but because it's incredibly hard to reproduce. I find it difficult to get the right values at the right intensity. Buying crimson and magenta is the first step, you have to have the right base colour out of the tube. But how can you lighten its value without significantly decreasing its saturation? Adding white makes it more chalky and less vibrant, putting in some yellow just doesn't do it either. And what if all the tubes you bought are transparent?
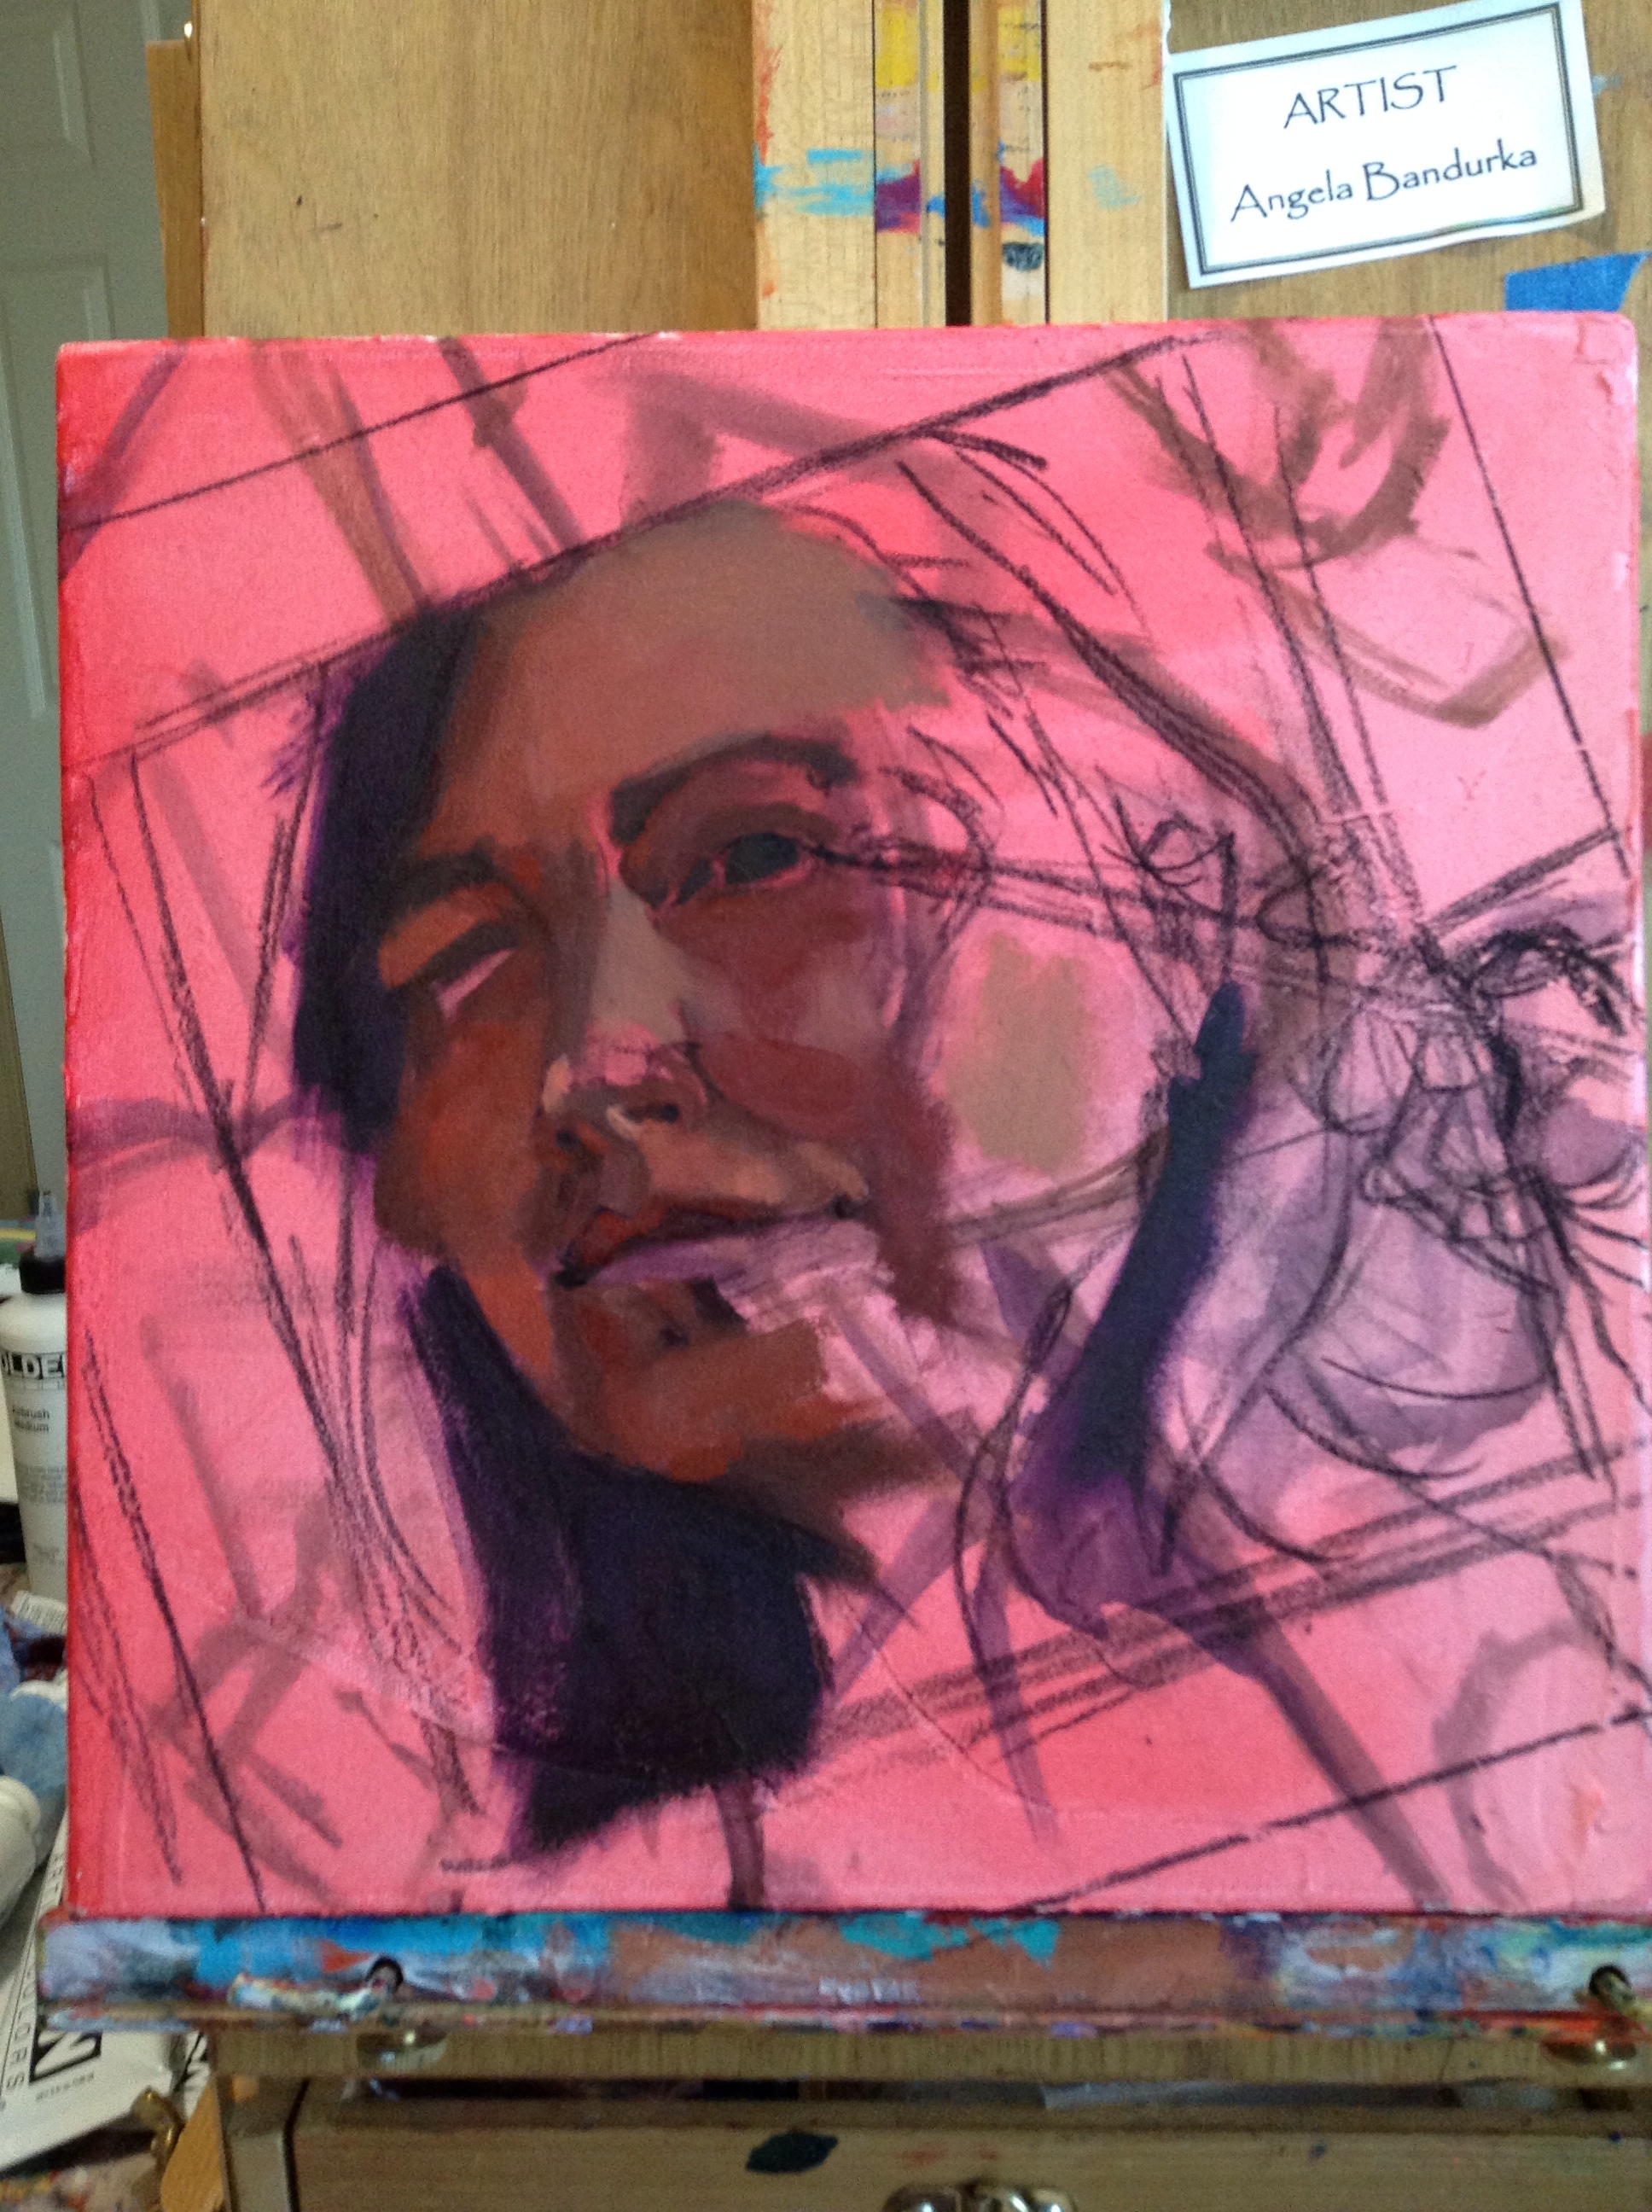
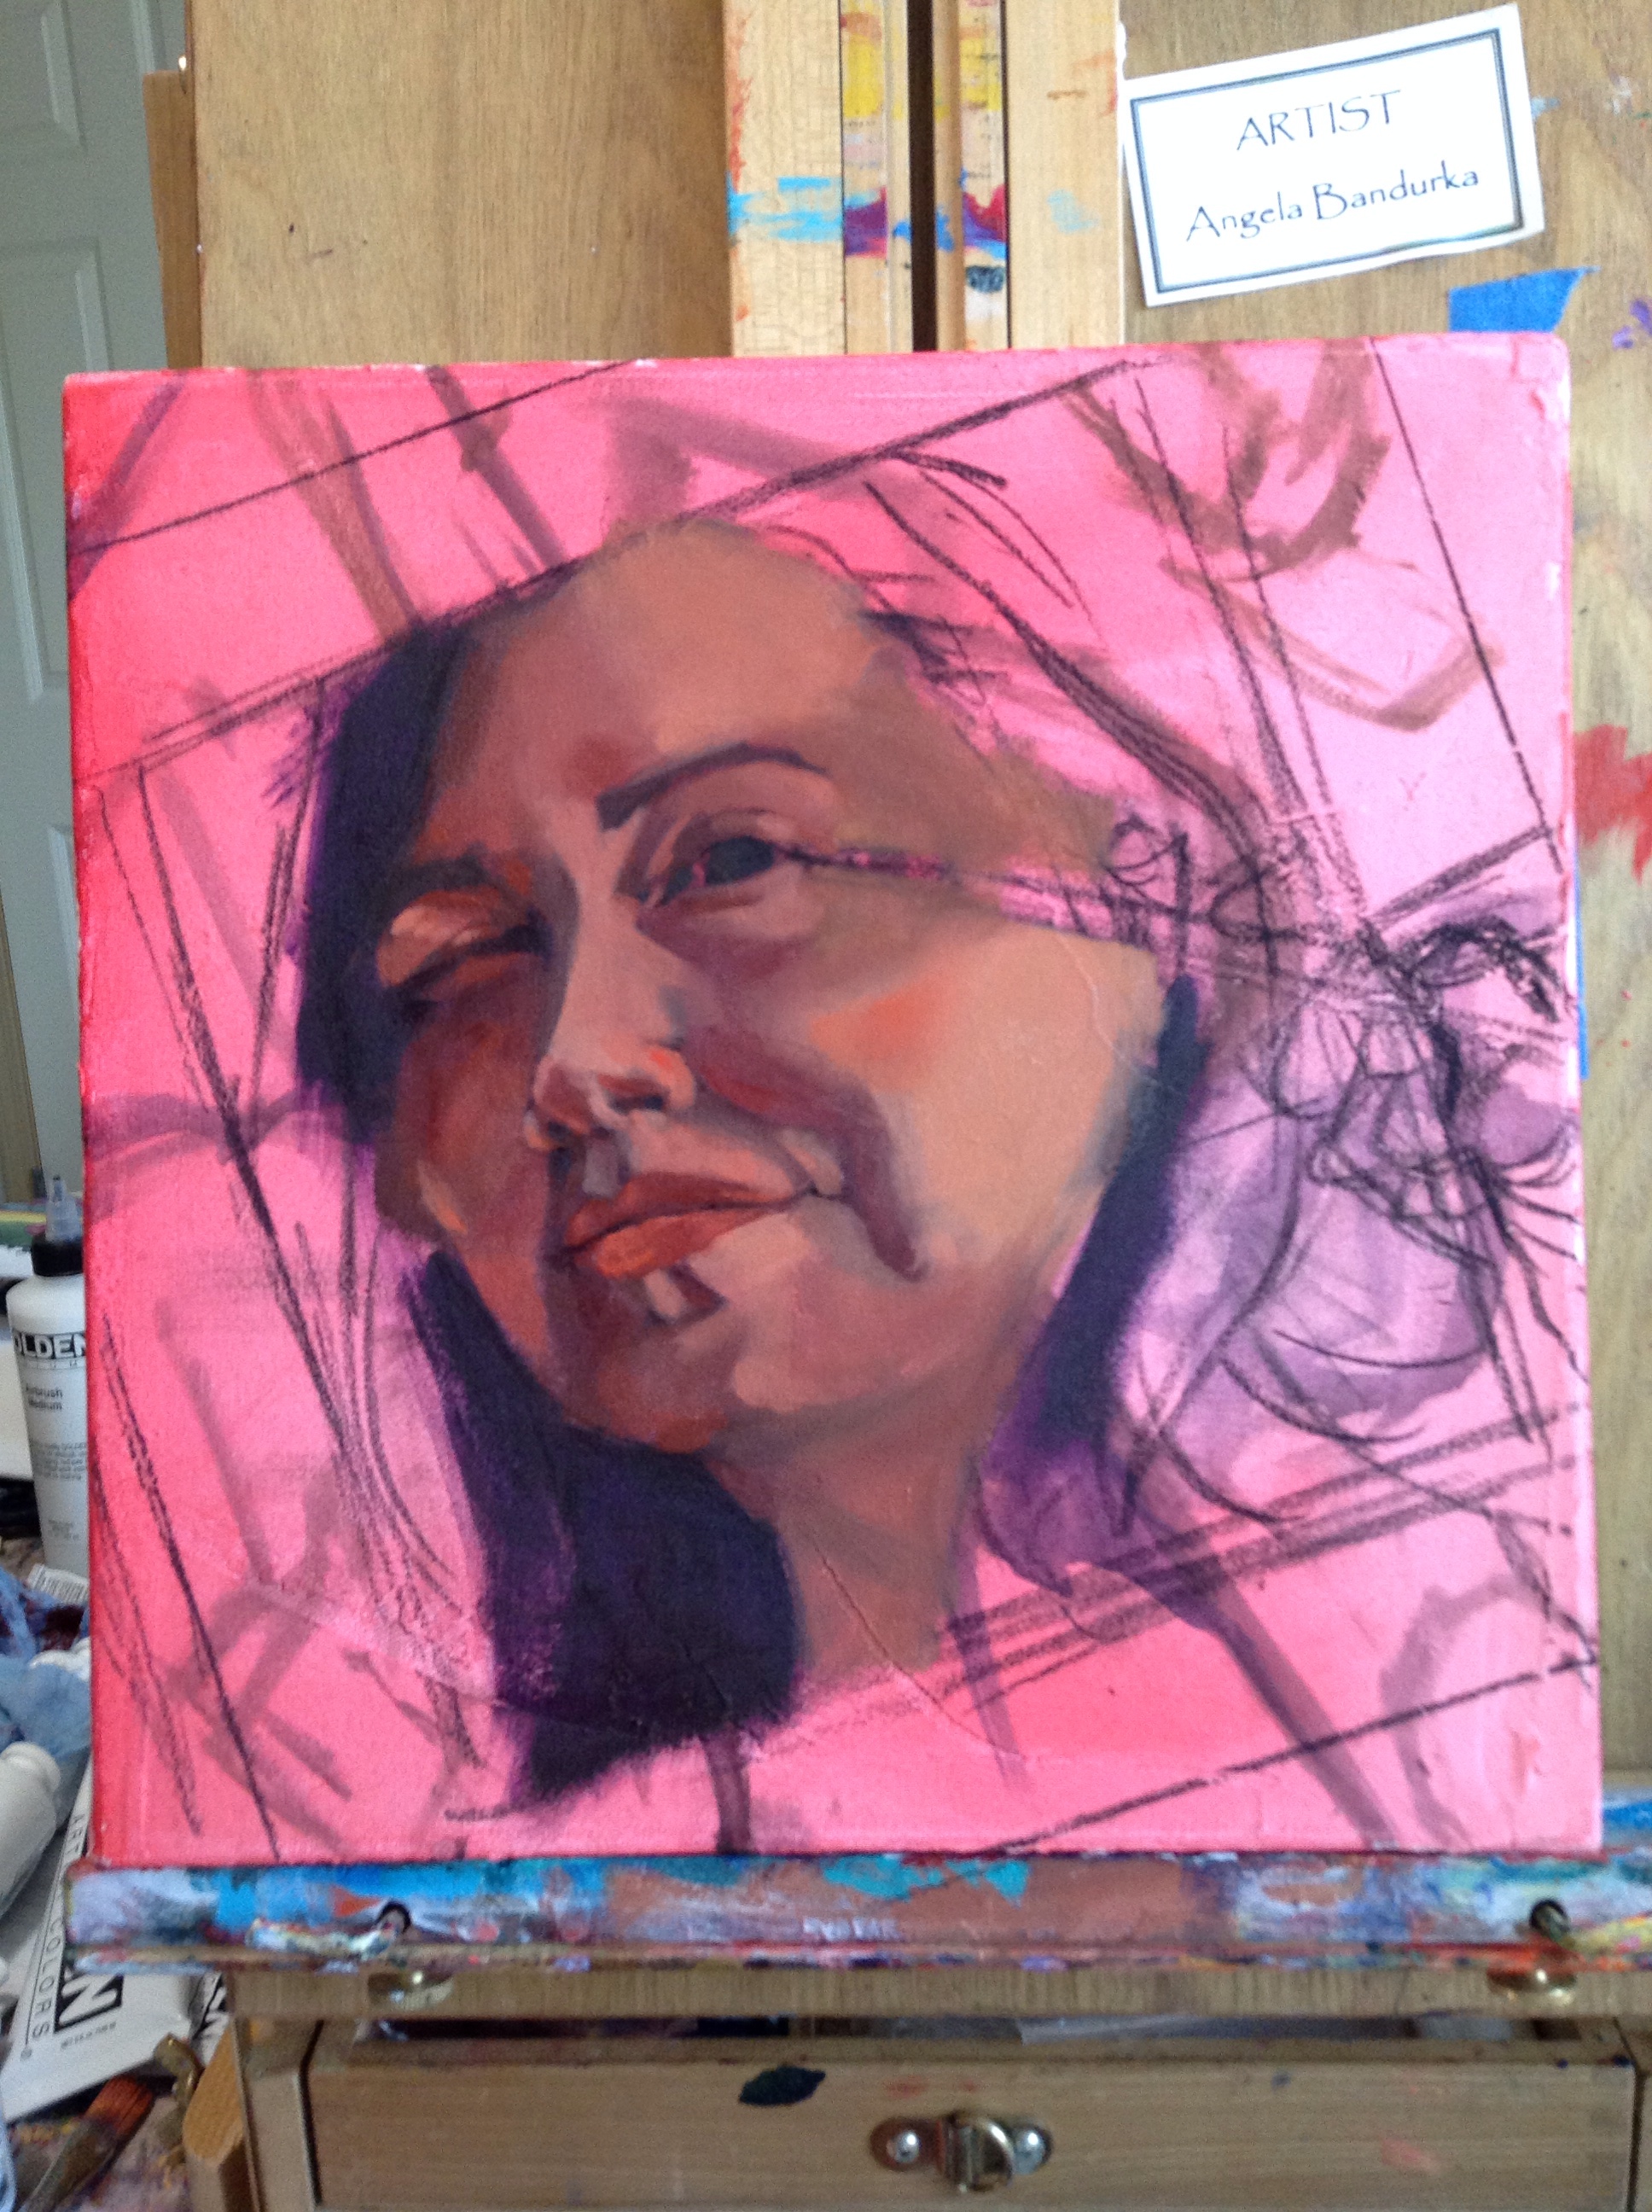
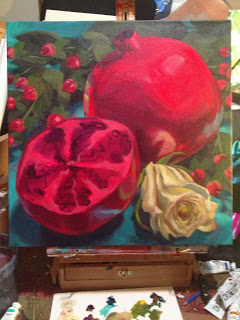
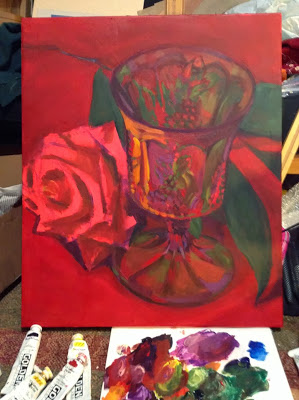
To attempt to keep the colour vibrant, I added neon pink to the mix; using it to lighten my magenta allowed me to maintain its vibrancy - especially since it was a very transparent magenta that I was using.
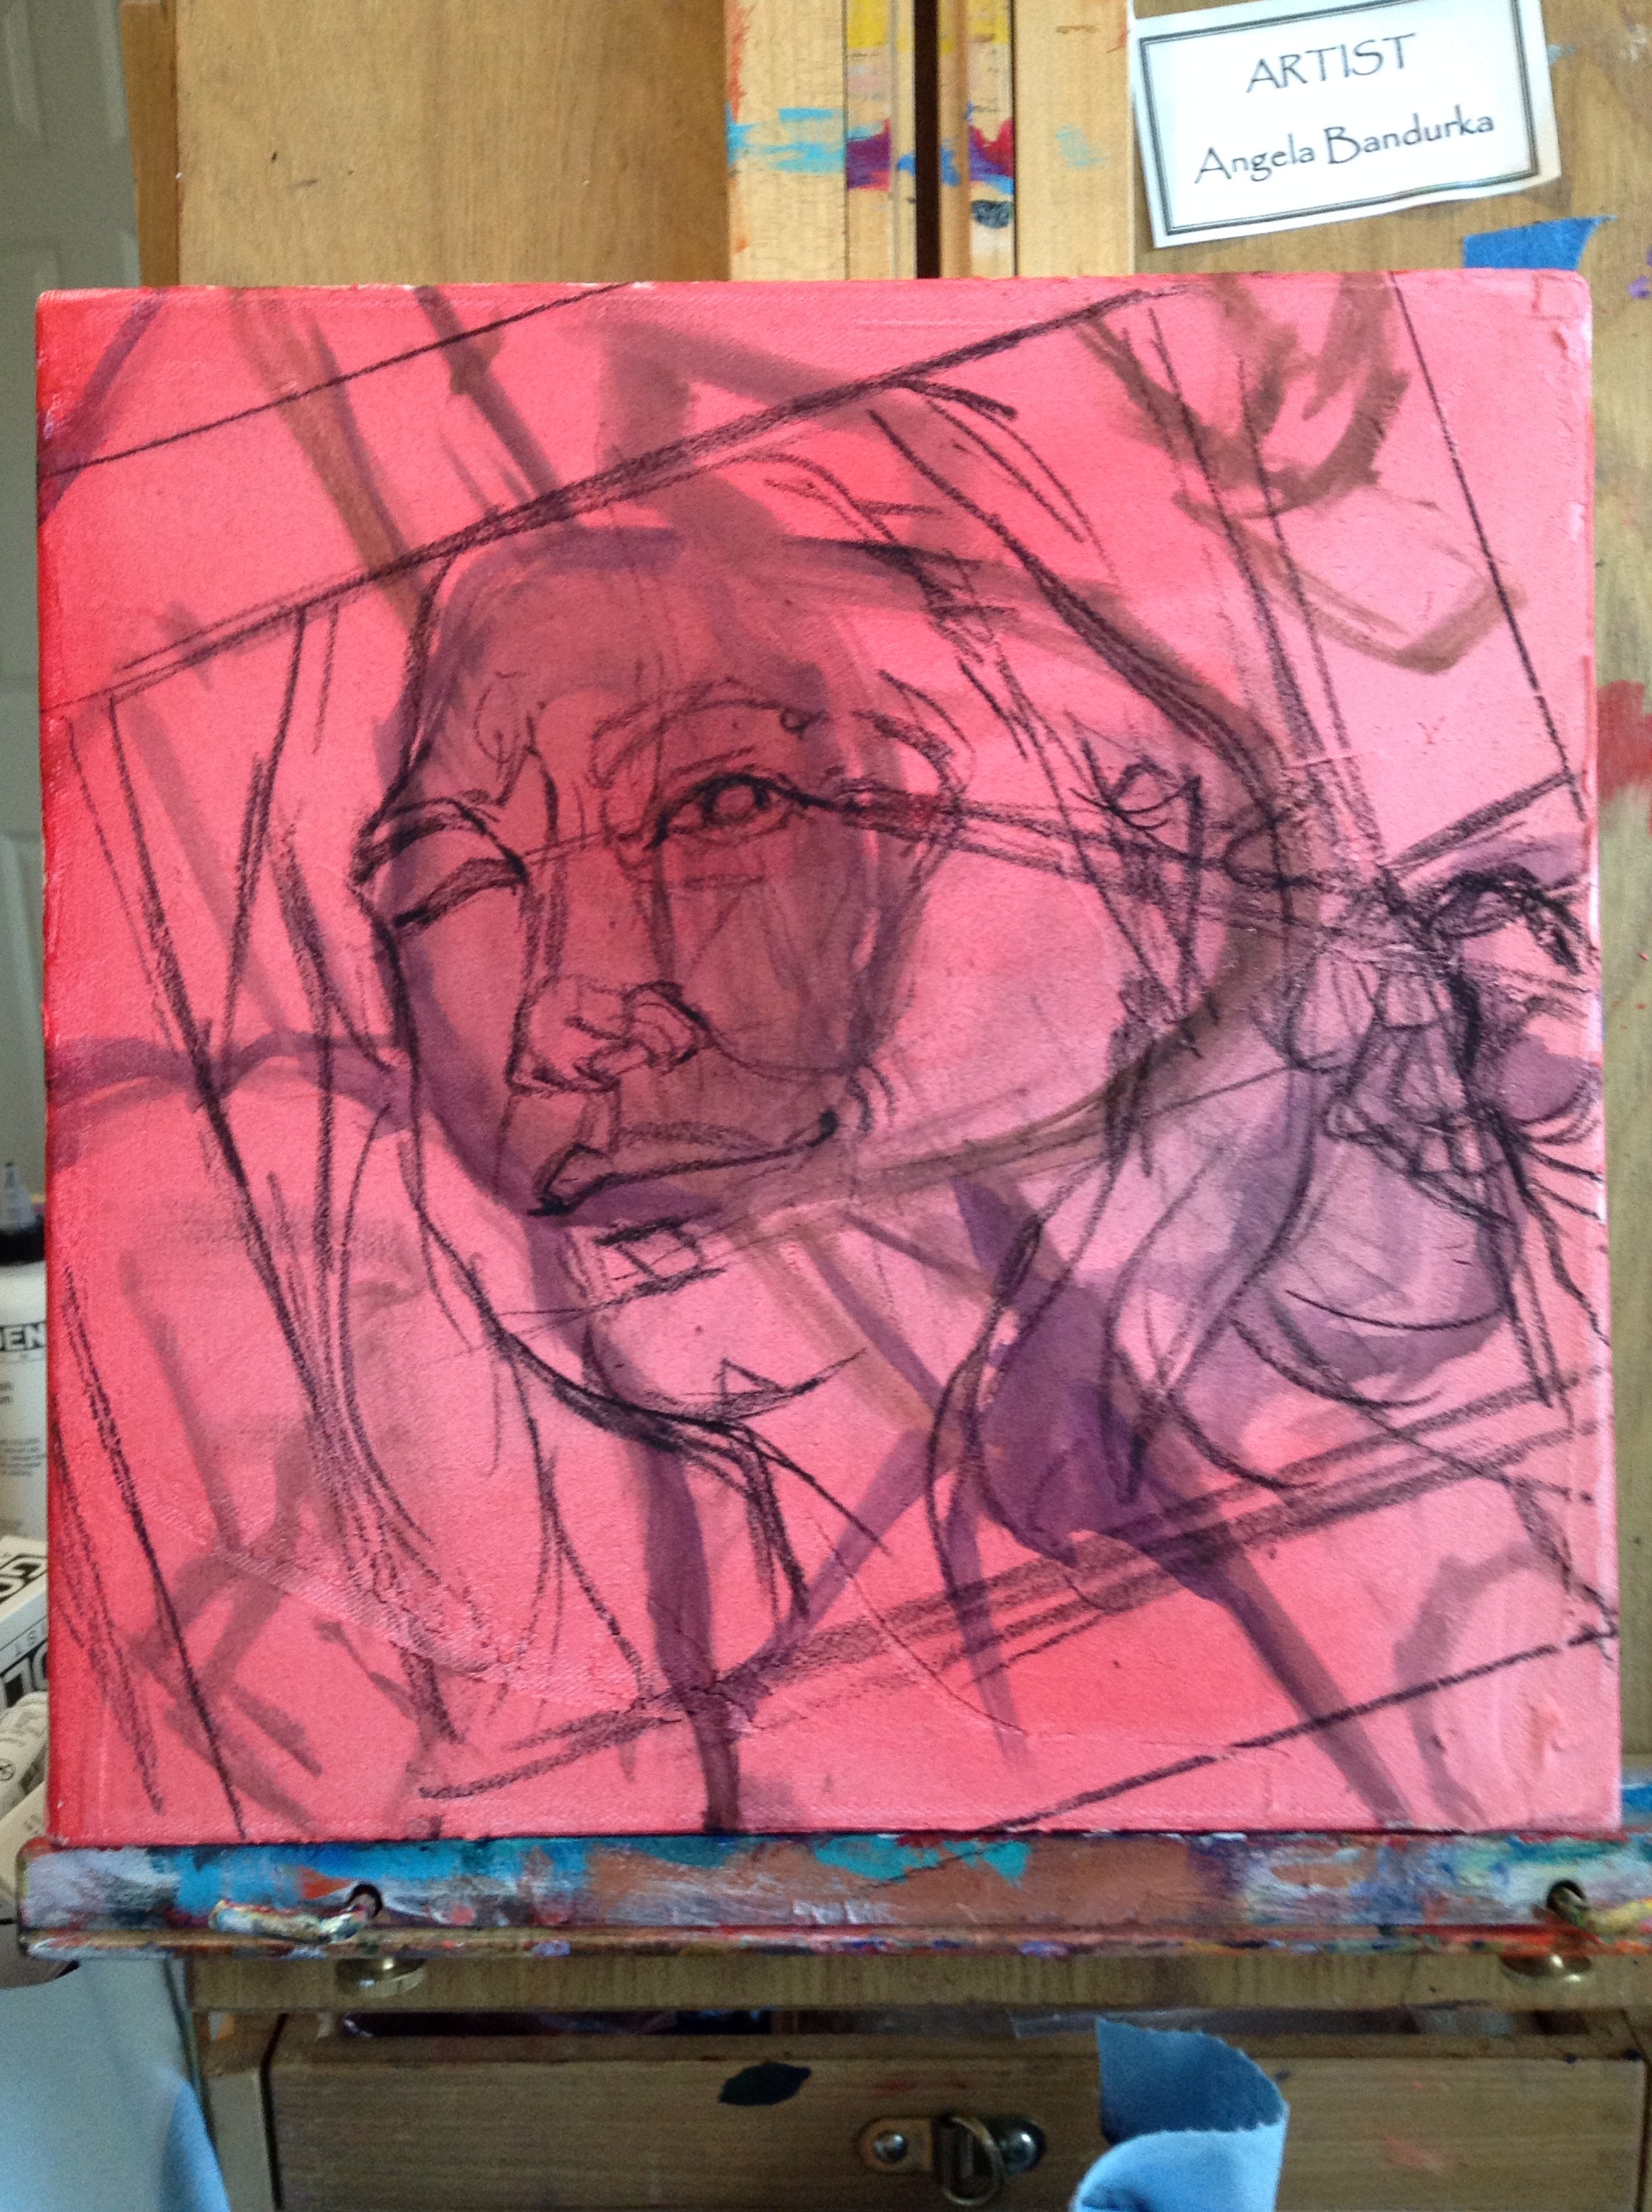
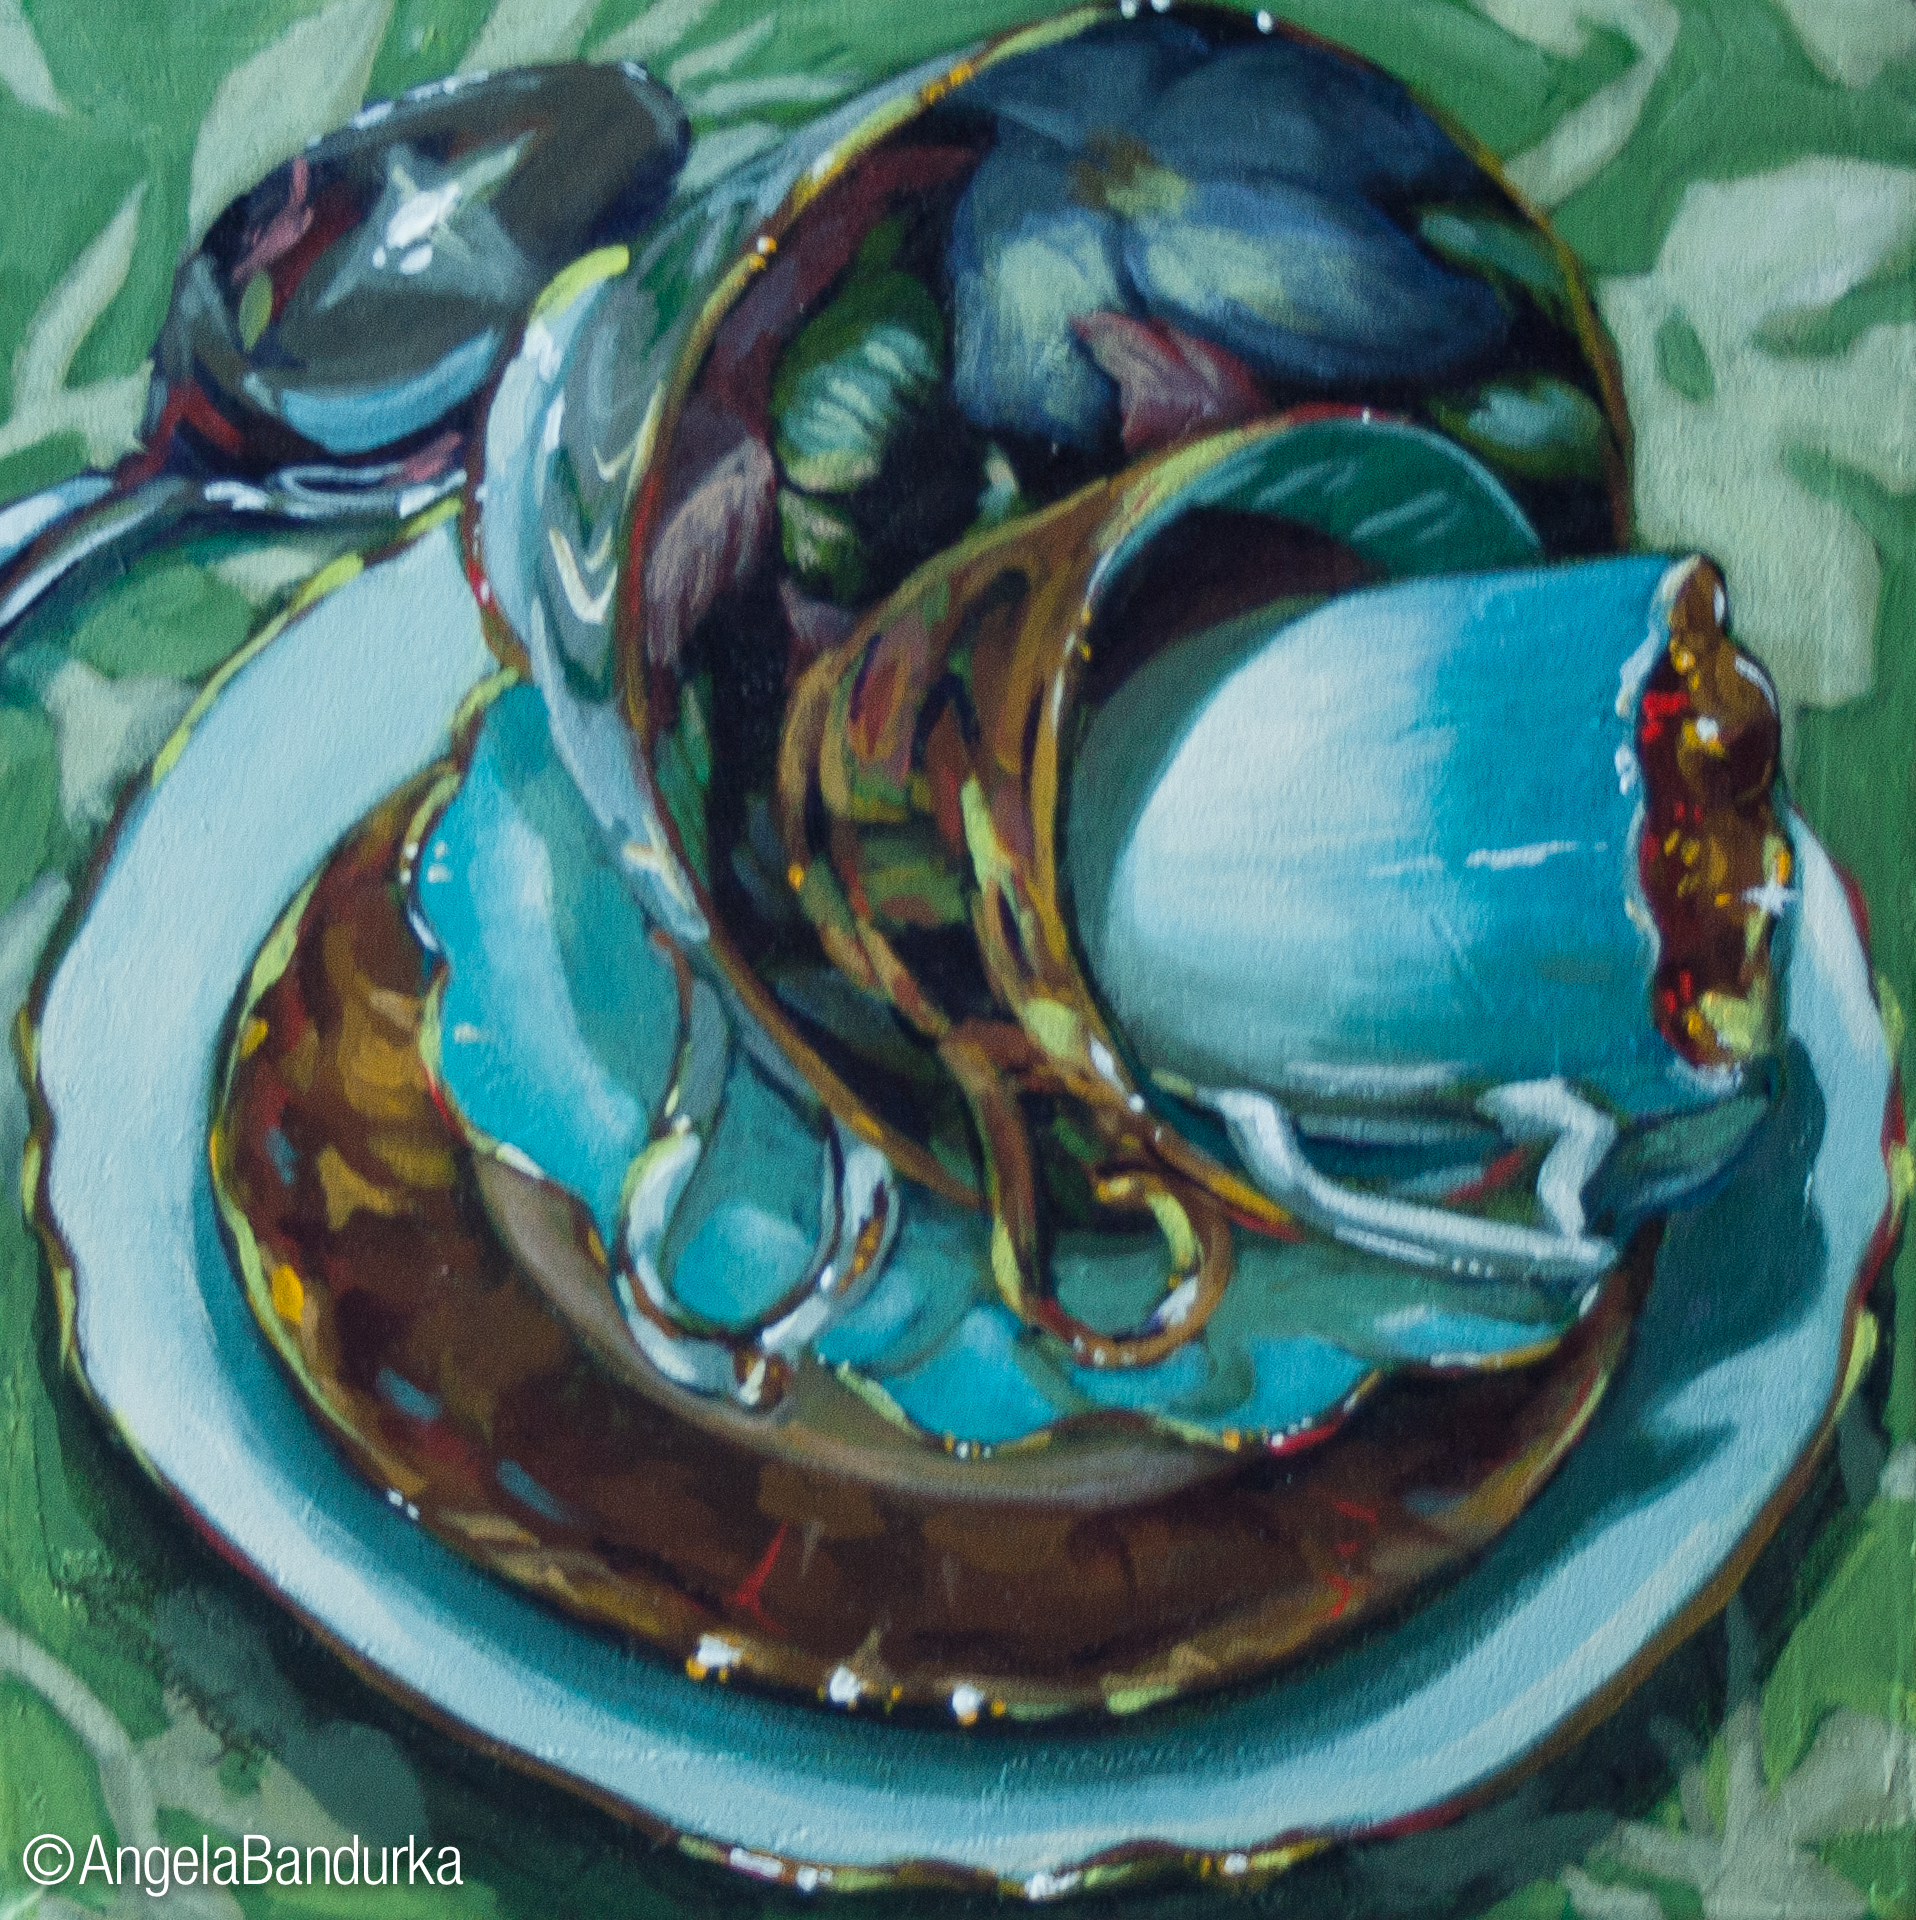
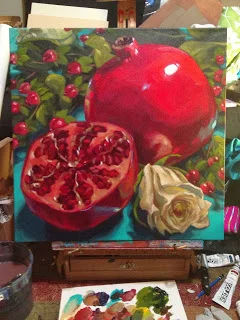
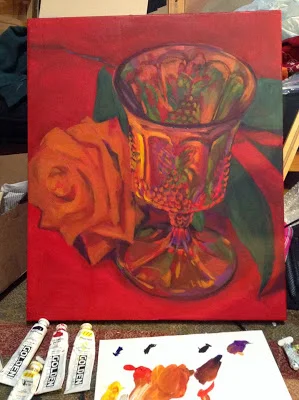
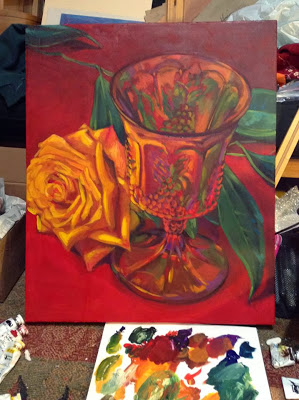
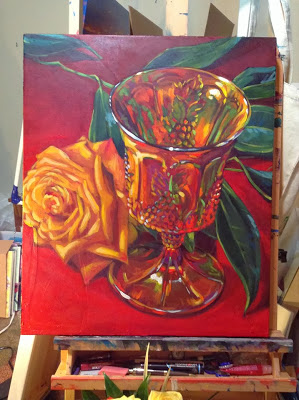
Below is the shot of the original flower, and the completed demo. There are no wasted opportunities, people! Get out there and play with your paint!
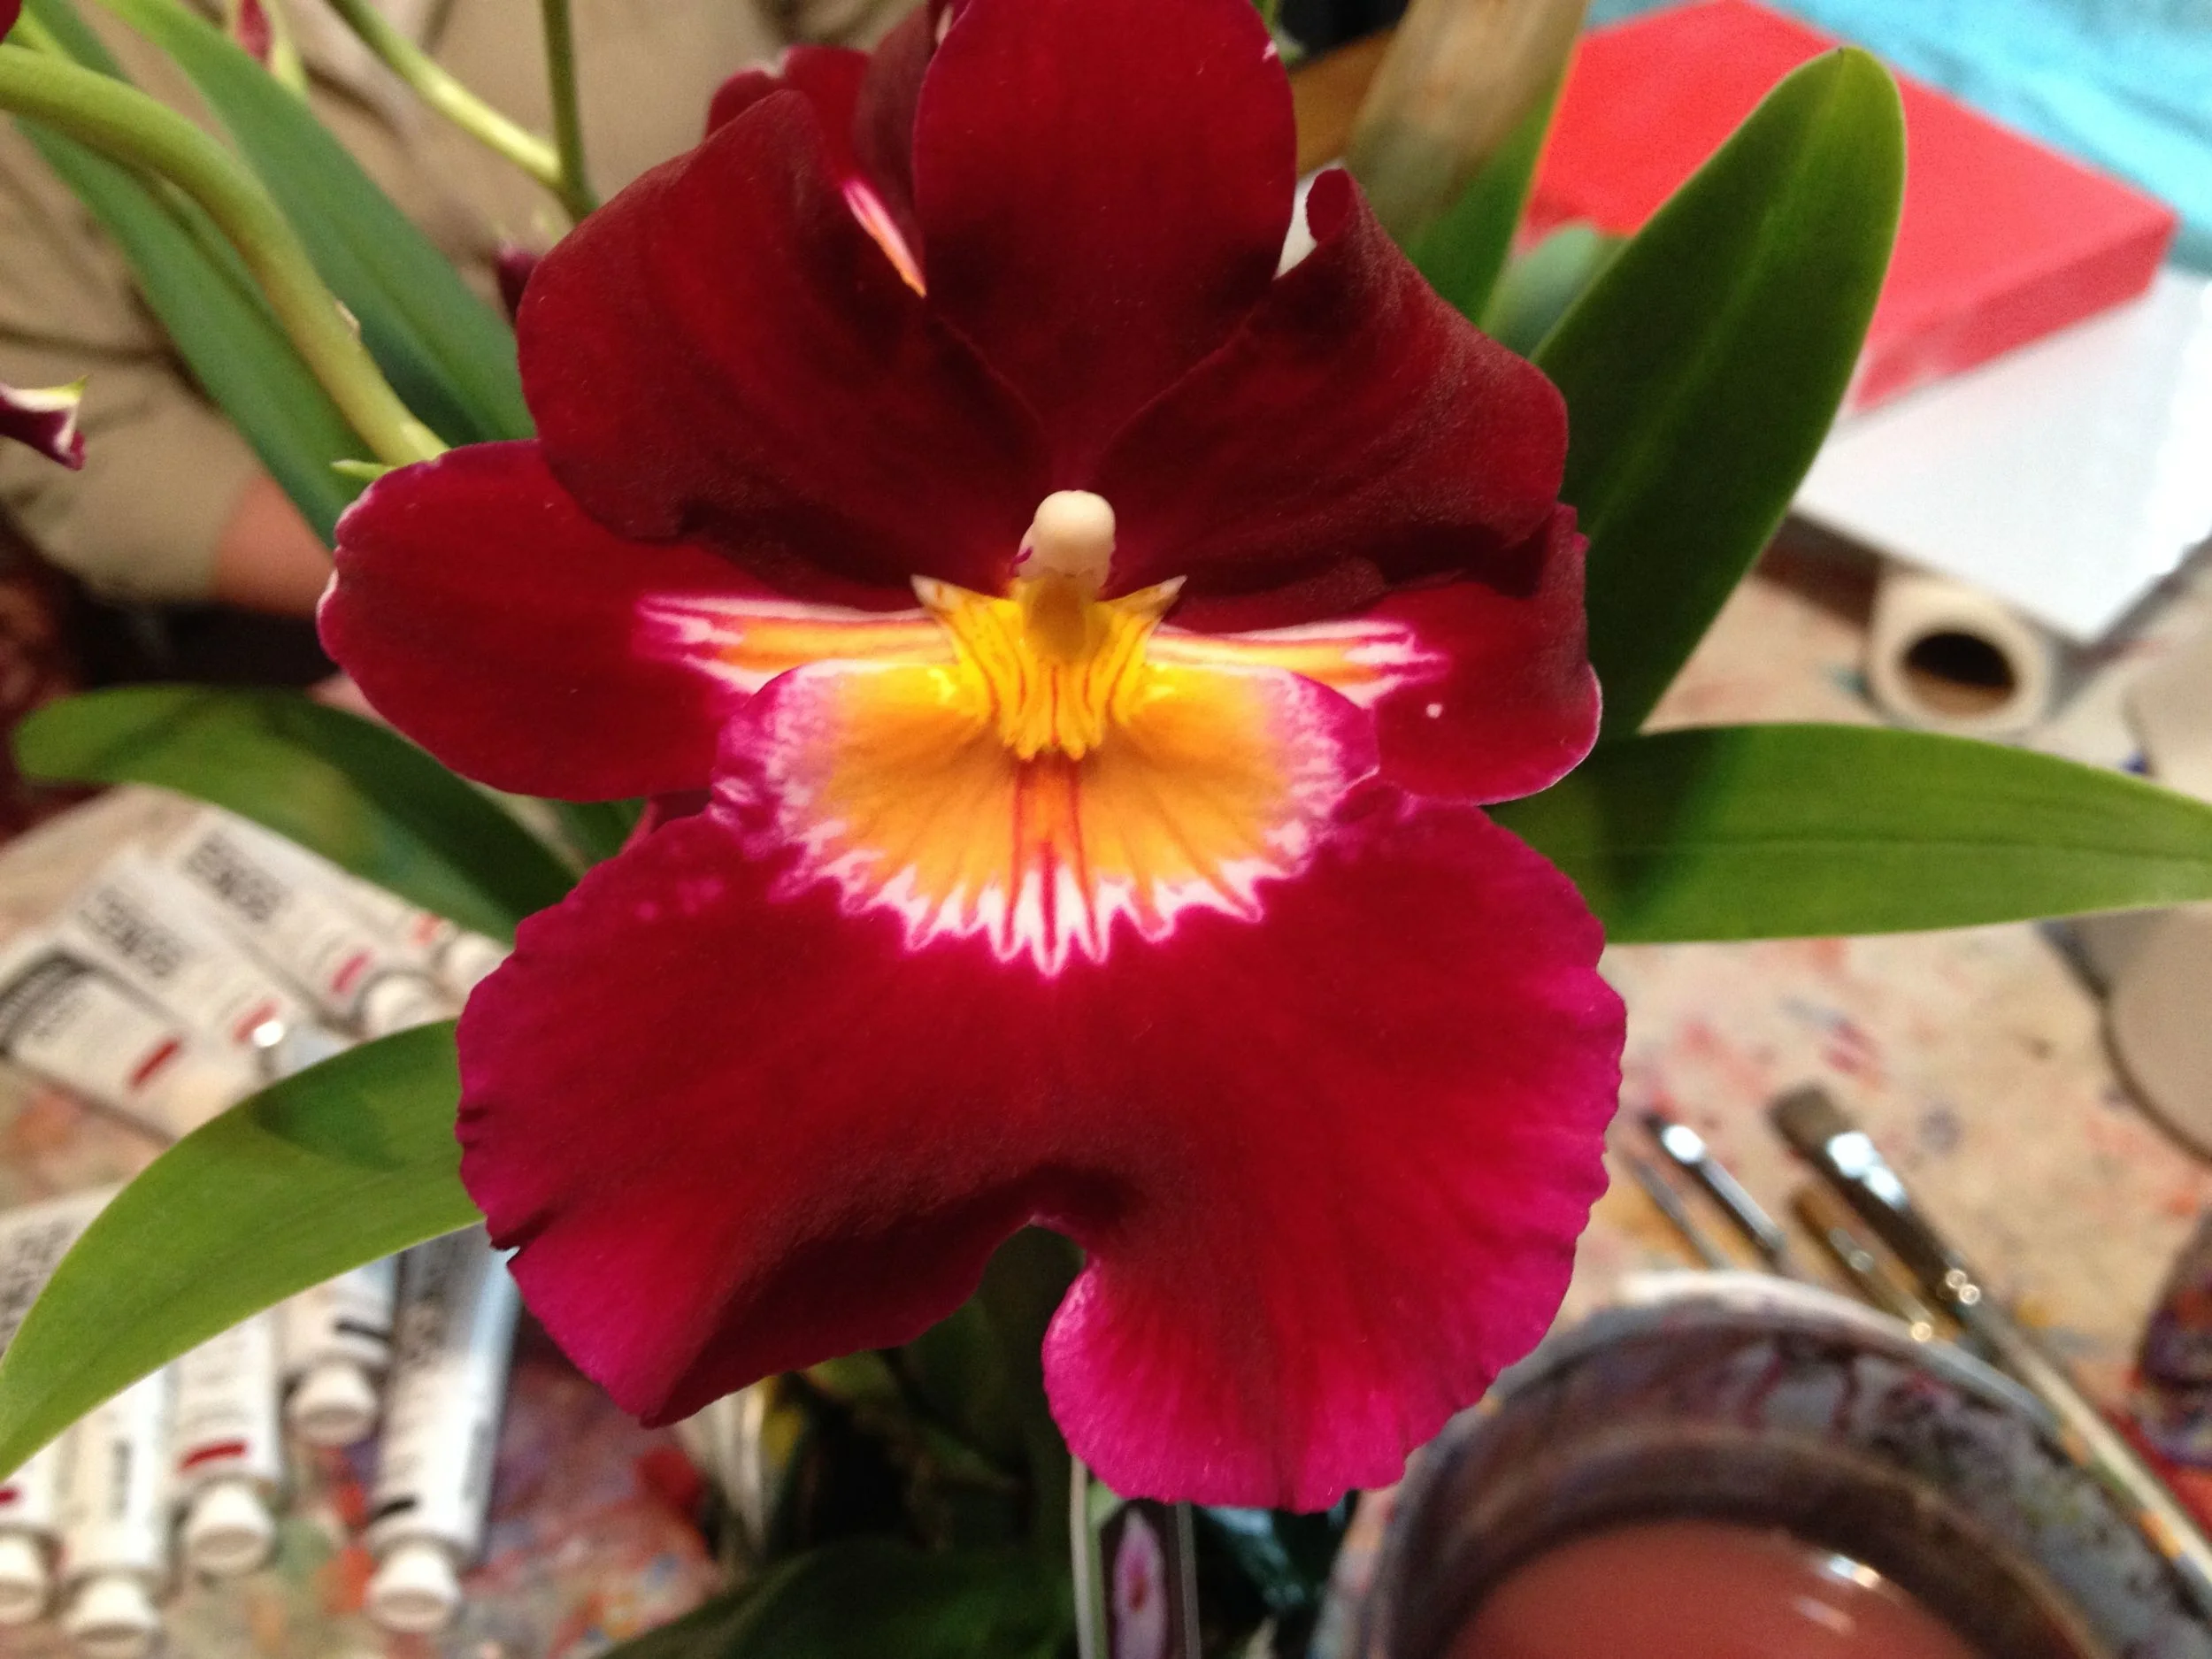
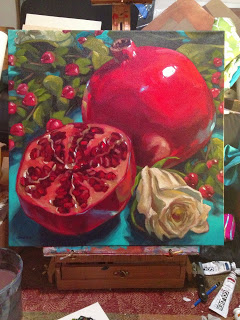
A gorgeous orchid! Look at that rich colour!
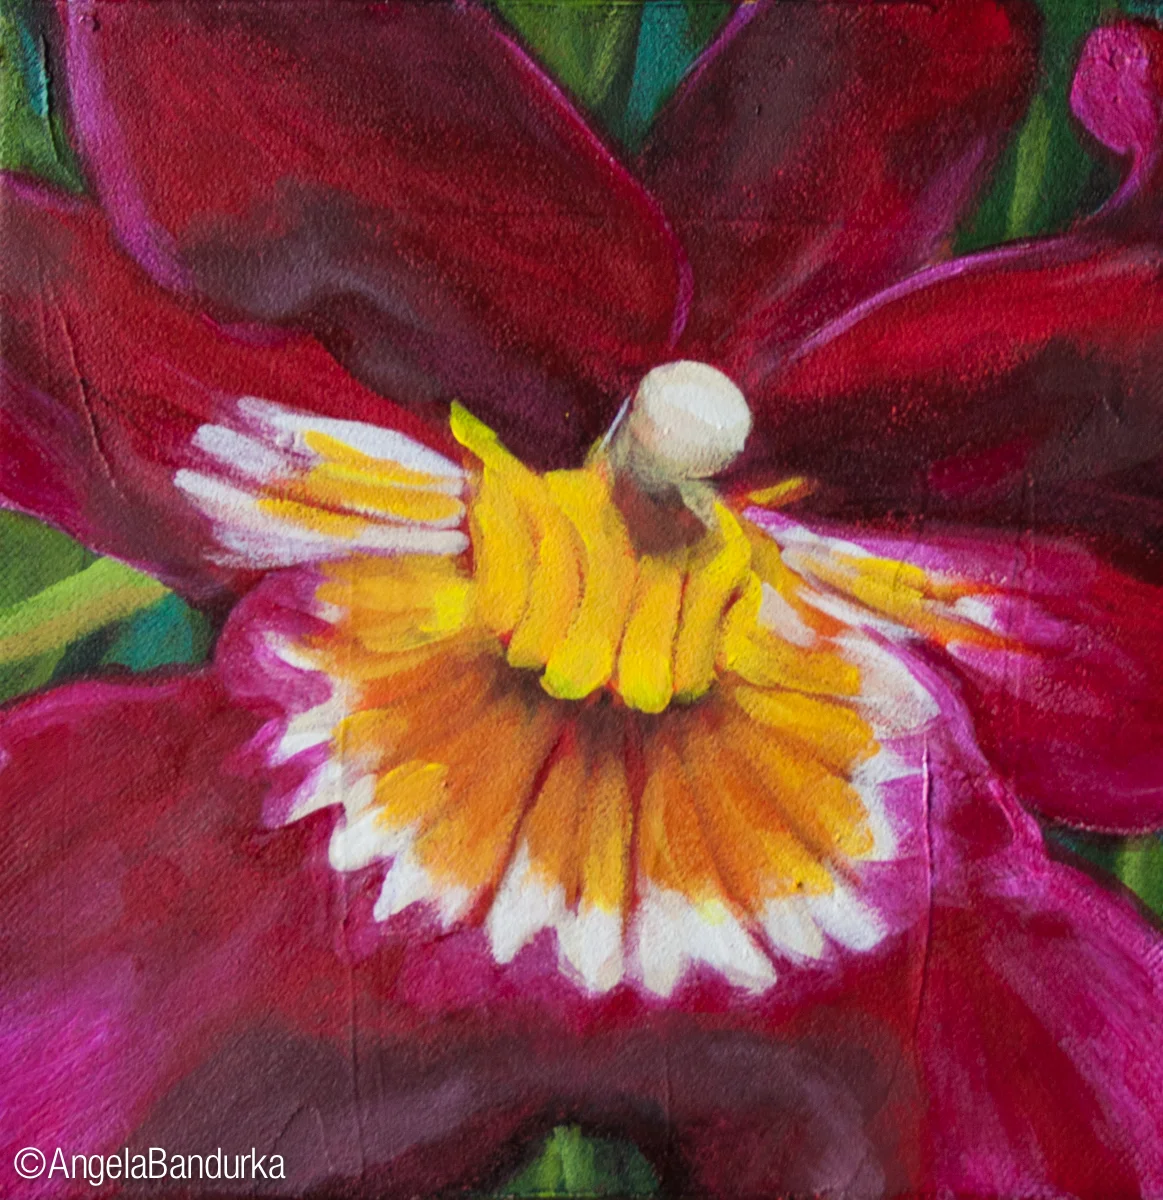
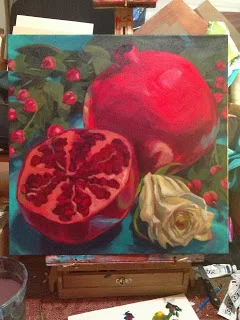
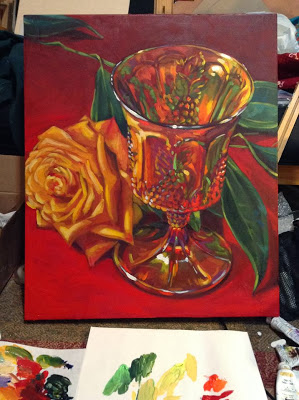
And here is what I produced: the highlights all have neon pink added to the colour, which helped me keep the value light but very saturated and vibrant :)